This is one of those projects that we were going to give to a contractor, but for the last few month almost all contractors have been unavailable. We think the demand for home construction has gone up since everyone is home all the time. I decided to do it myself, and save some money along the way. I also learned a lot!
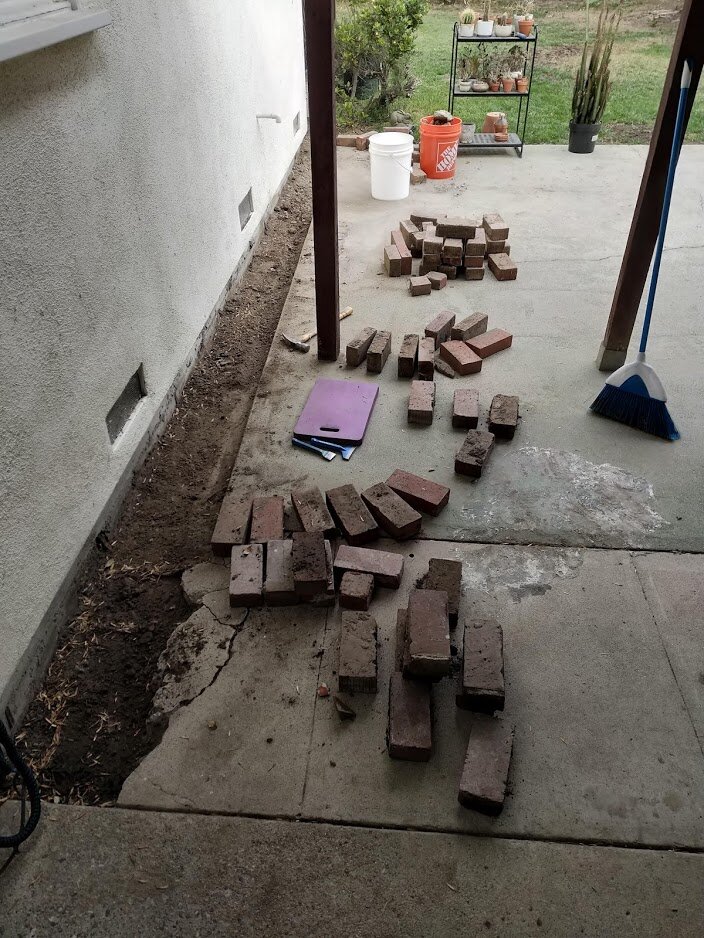
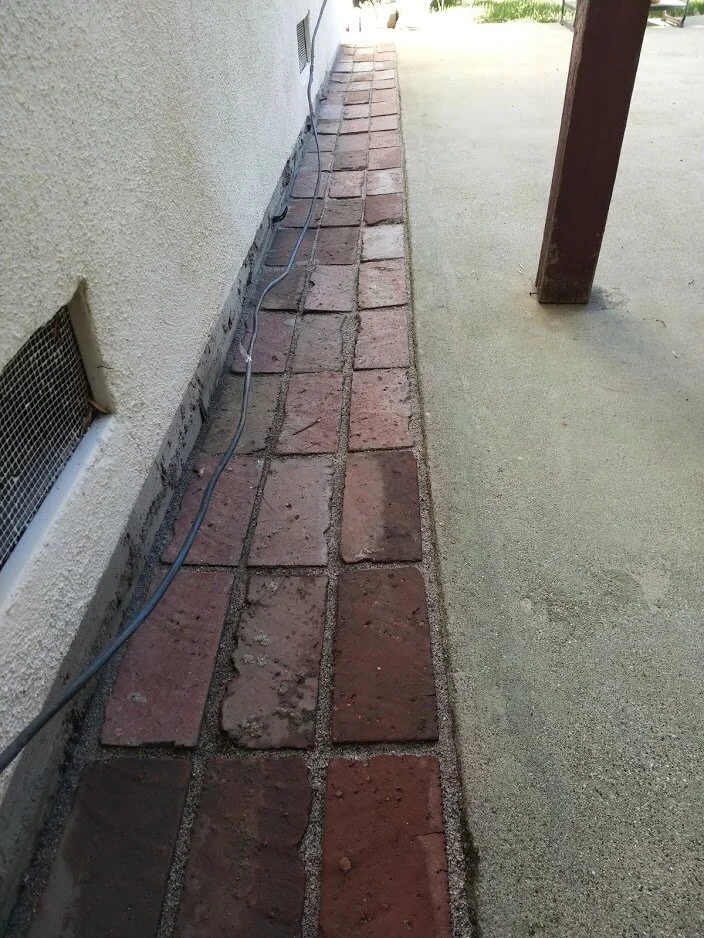
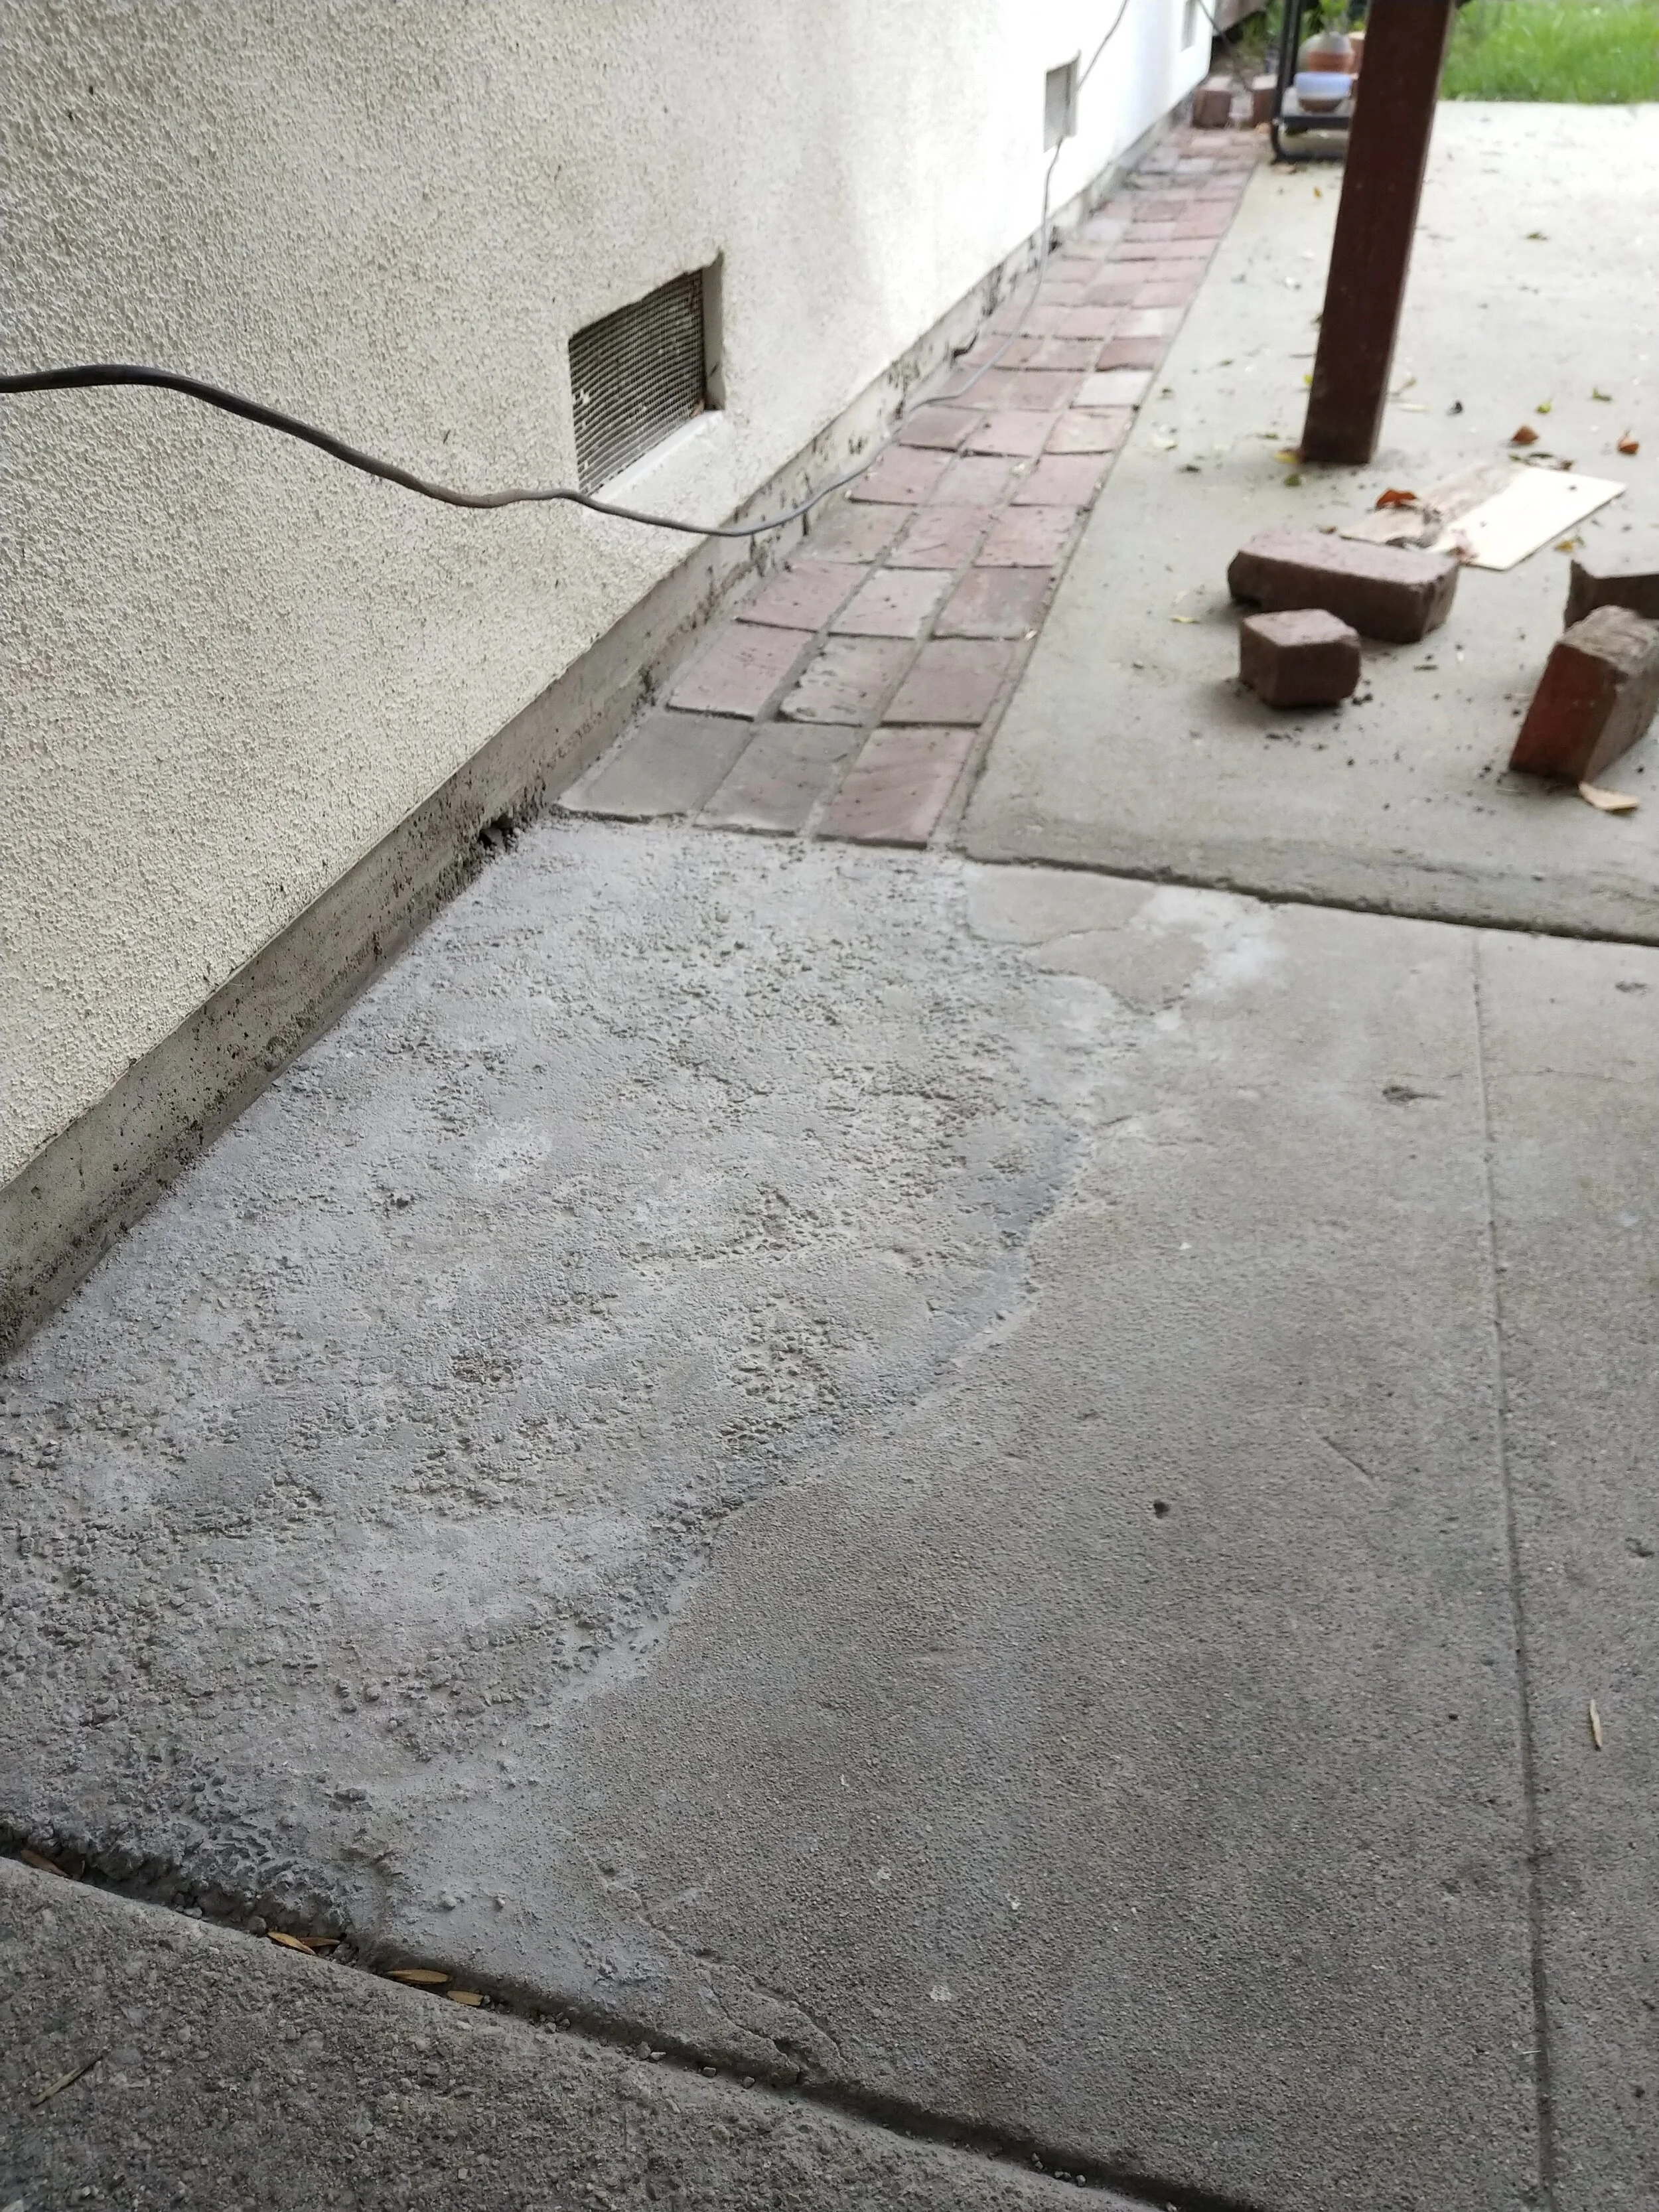
The big issue is the exposed ground running along our foundation. There was a half hearted attempt to fill this gap between the patio concrete and house years ago. I can tell that it was started but never finished. There was only mortar on the first row of bricks, the rest were just laying in the dirt. I have no idea why the previous owner never finished the job, but we think he was severely depressed. A lot of the work we’ve been doing is fixing areas of neglect.
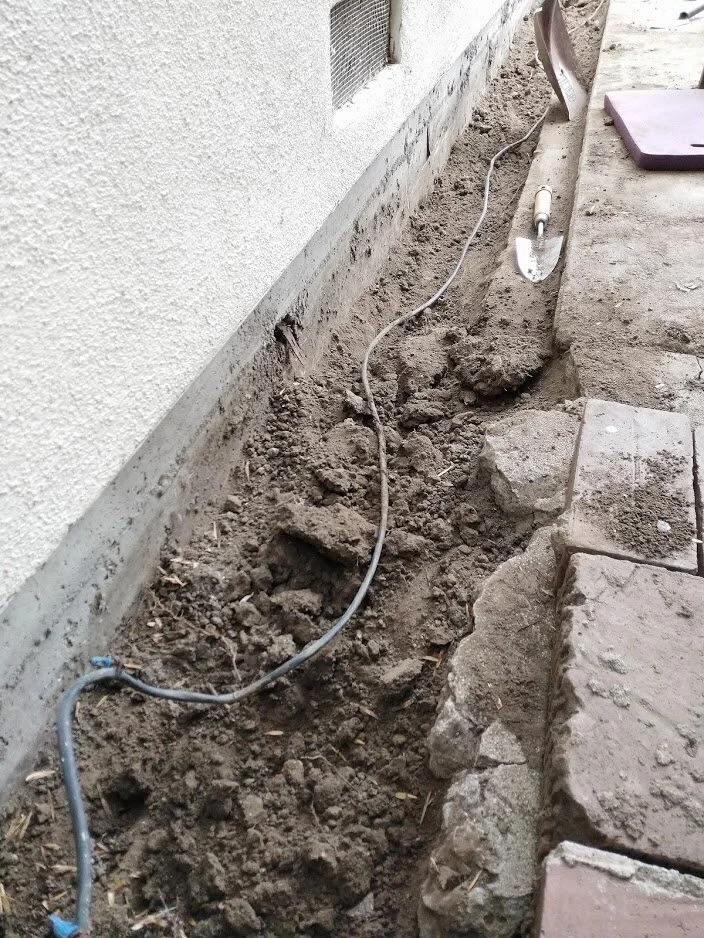
The real goal here is to seal up the area around the foundation so water doesn’t soak in. Since this is a raised foundation, water can saturate over time underground. This adds pressure to the foundation and can cause cracking, which would lead to a bigger repair bill years from now.
The good news is I had all the bricks I needed. Most where laying in this trench, the rest I could find laying around the house in random places. I collected all the bricks I could find and I had more than enough.
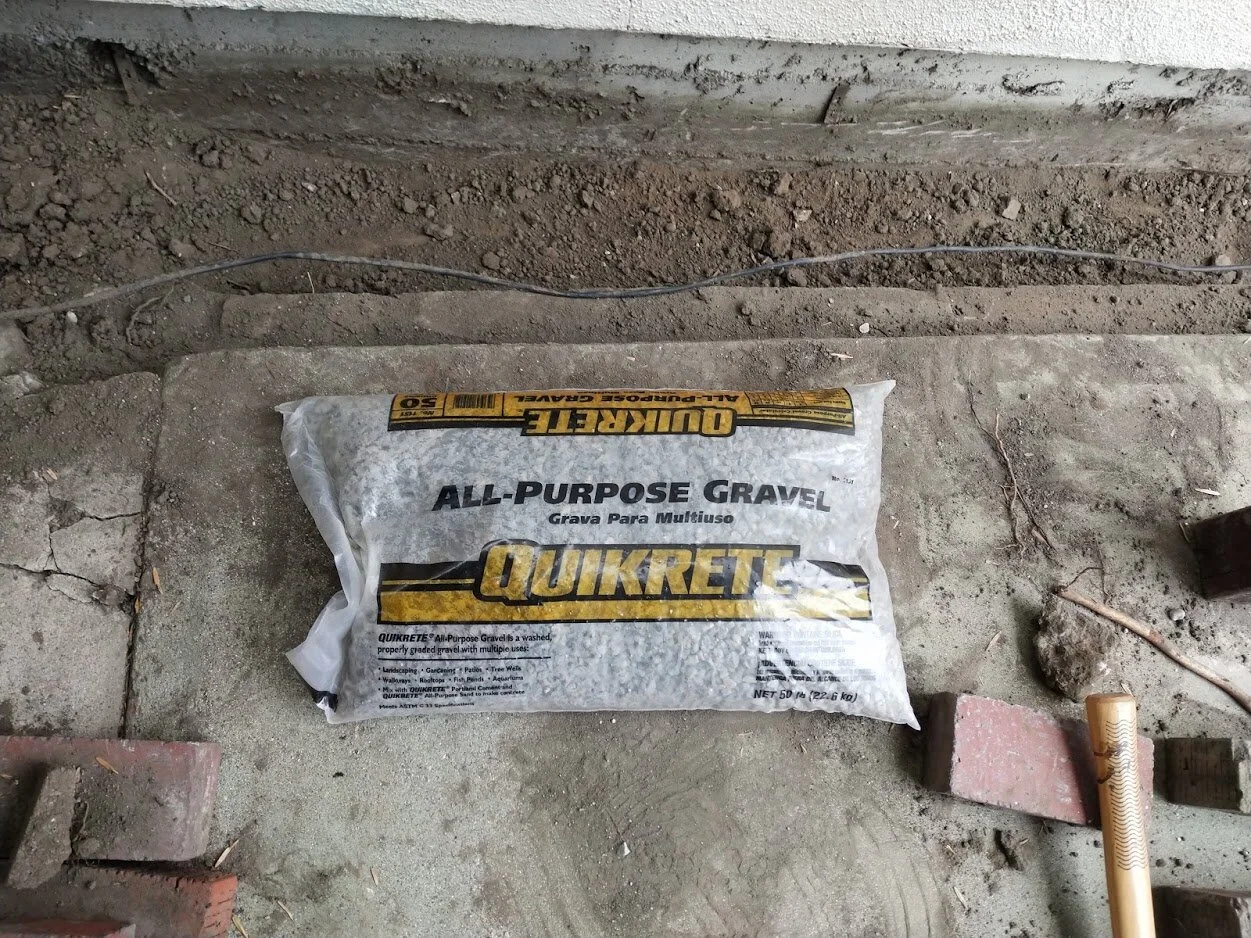
The first step was to dig out the area, I wanted it to be at least 4-5 inches deep. I watched some HomeDepot videos on laying brick walk ways. I need to lay down a layer of gravel, then a layer of sand.
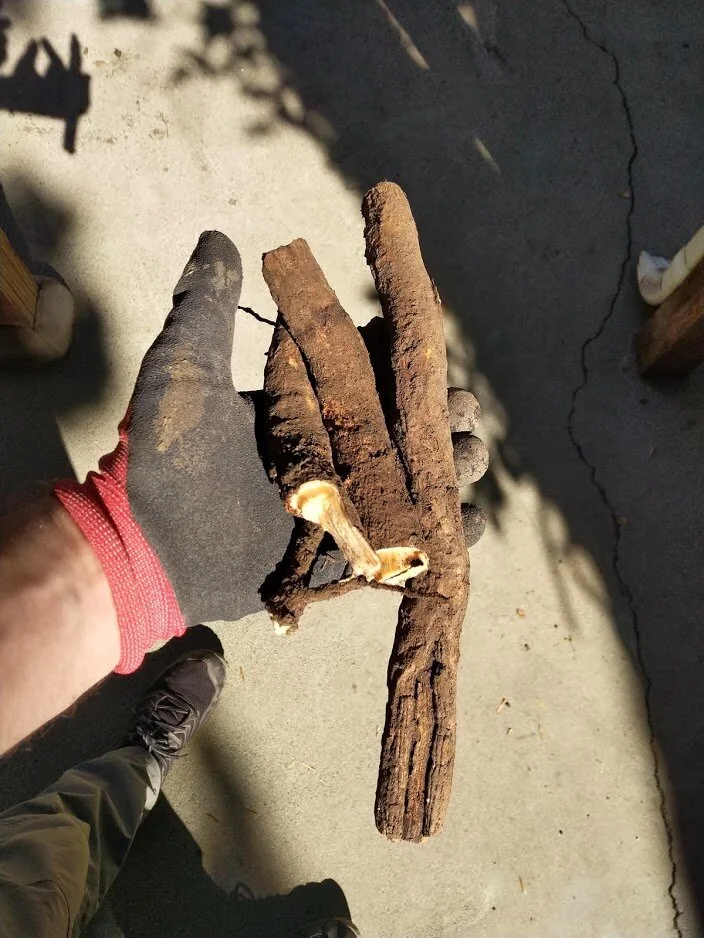
These roots where found underground as I was digging. They were still fresh! I’m pretty sure they came from that Ashe tree that grew out of control in the flower bed. I suspect a lot of the concrete cracks are caused by this tree.
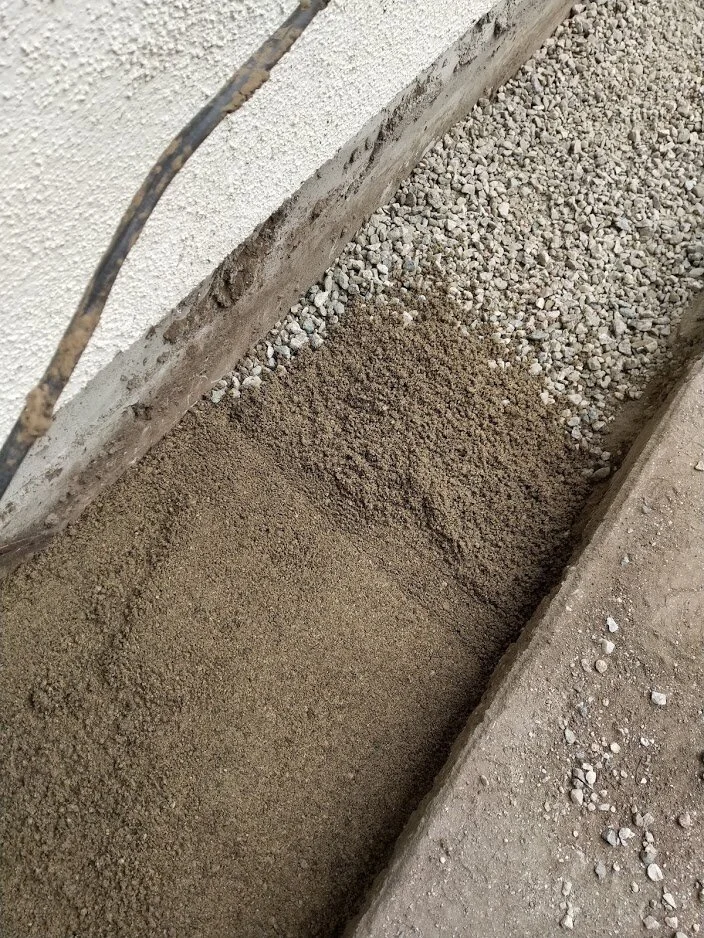
After digging out the extra dirt, I poured the gravel and distributed it throughout.

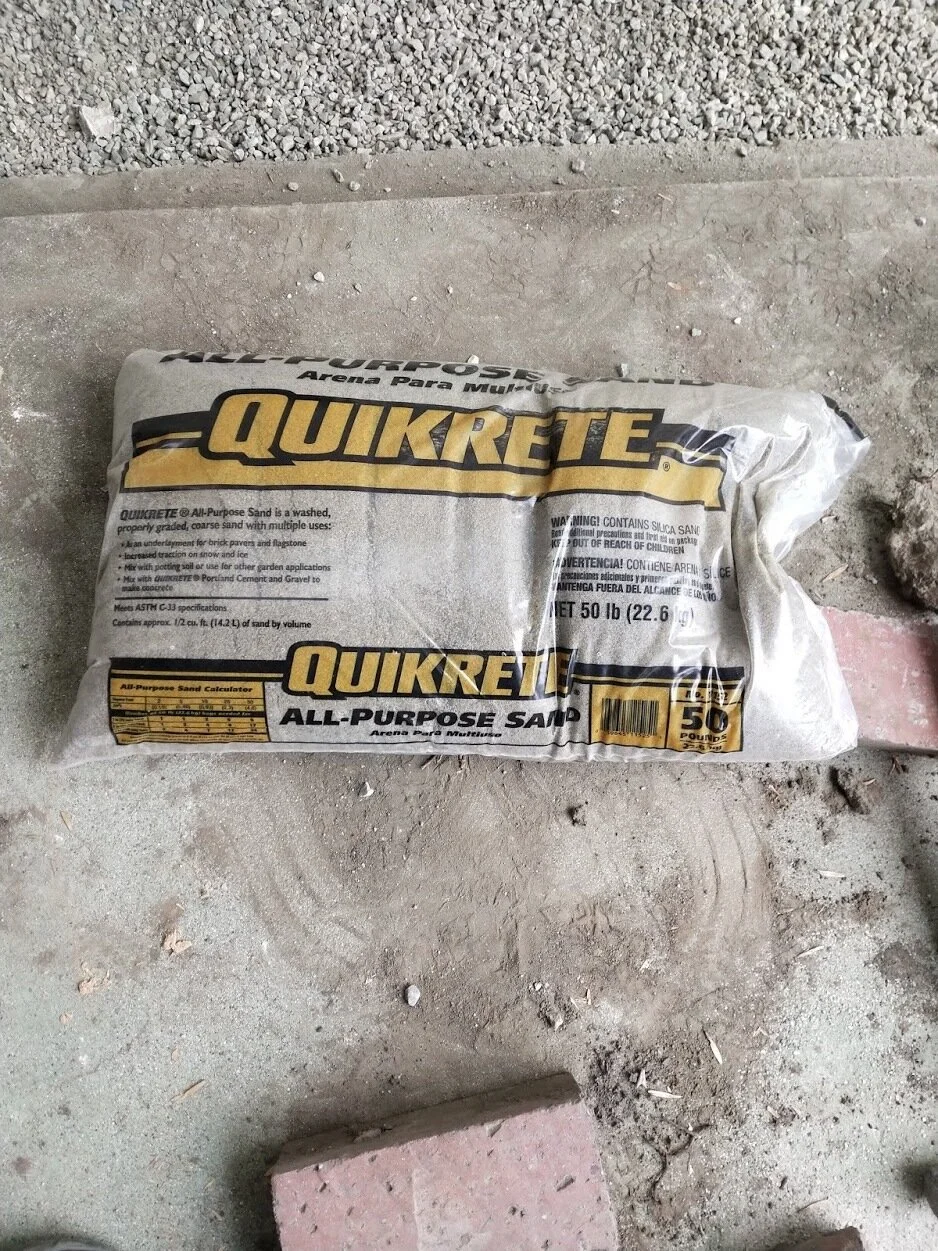
After flattening the layer of Gravel, I poured a layer of All Purpose Sand.
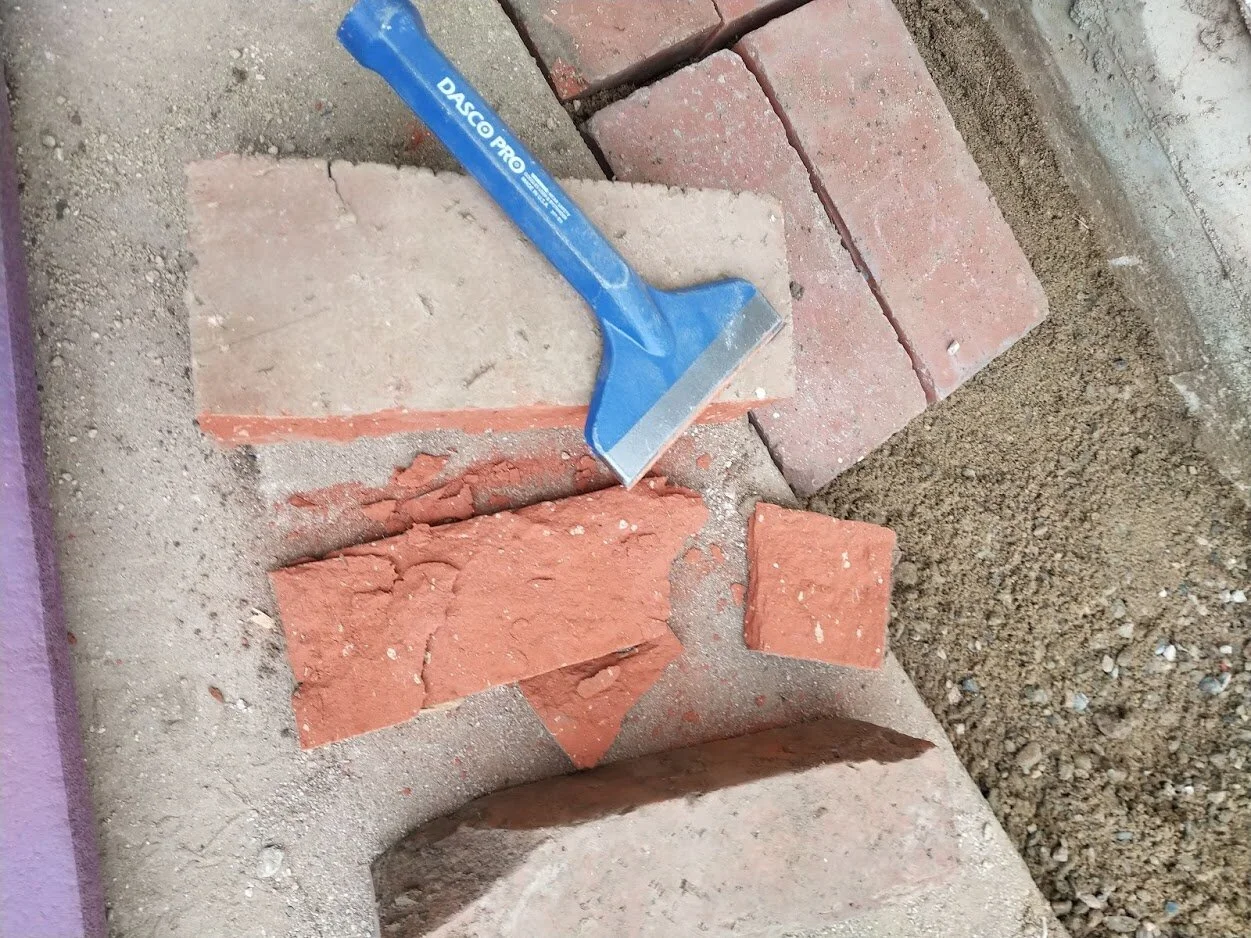
The next step was to carefully and neatly place the bricks on the sand. Sometimes I would hammer the bricks down so they were level. In the end it wasn’t a perfect layout, there are variations but I got the job done. The other challenge was the house and patio were not perfectly parallel. So as we get further to the end the gap became smaller. Because of this I had to start chiseling 1/5 off of the last few bricks. Again it wasn’t perfect but it works.
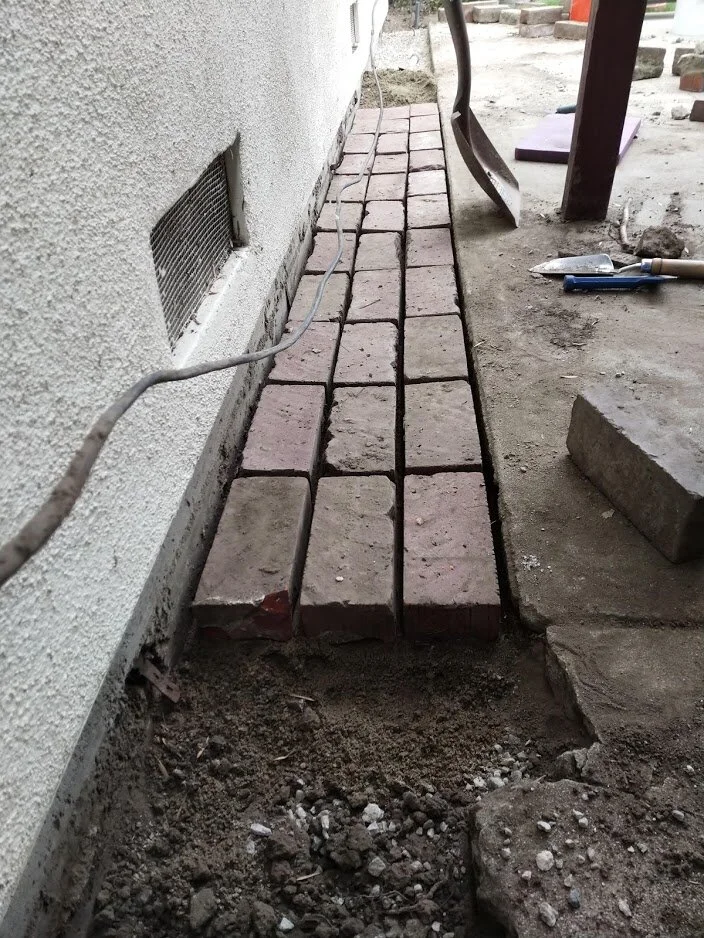
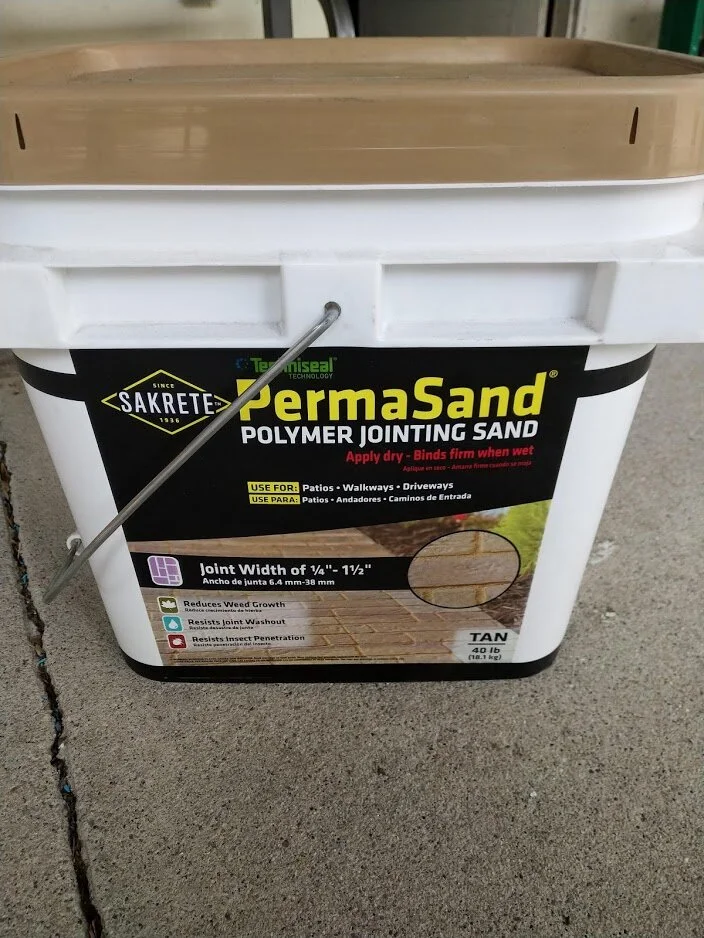
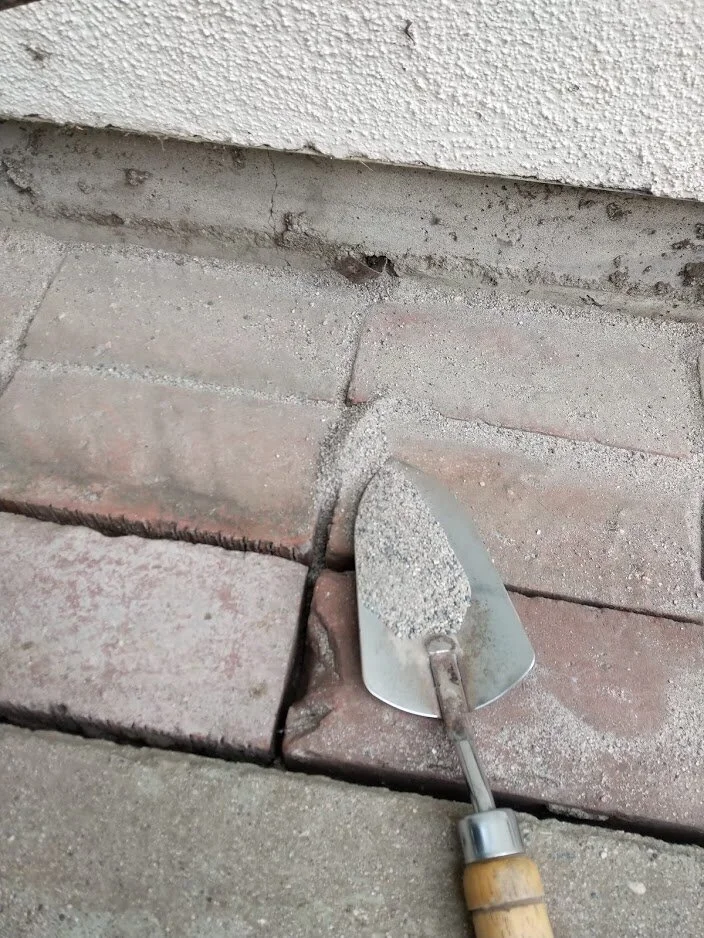
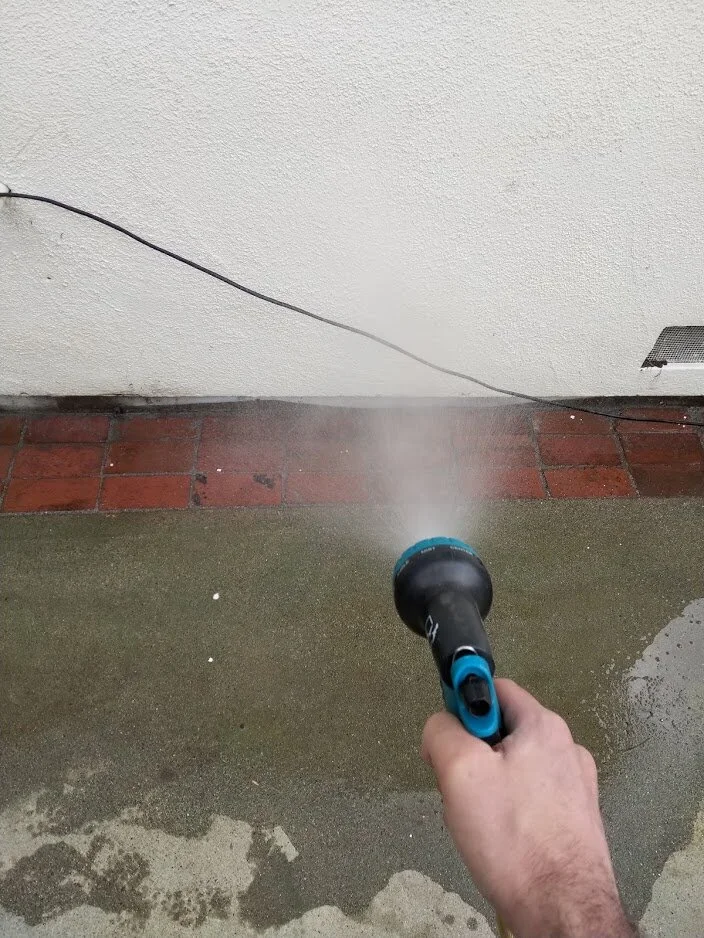
Now that the bricks are in place, I poured PermaSand into all the cracks. I had to make sure all the joints where completely full of this sand. The next step is to add water which will soak into the sand and cause it to harden like mortar.
This is the final result as it started to dry! Not a perfect layout but hopefully it has the DIY charm.
It didn’t sound like a lot of work when I started, the steps were simple. But it took me all day. Here is a video time lapse of the entire job. You can see Haidee supervising along the way :D.
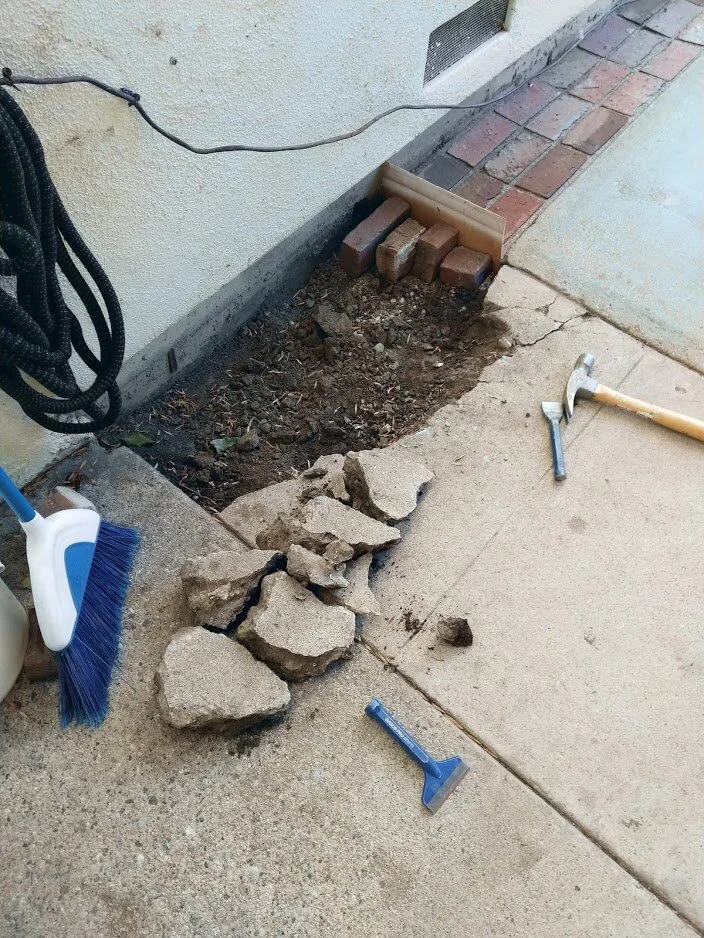
Now that the bricks are complete, I still have this hole in the concrete. The previous owner must has hammered it away with the intention of having the bricks continue along the house. Again it was an incomplete job. It also looks like he broke away too much of the concrete, and just abandoned the job leaving loose bricks in the hole.
Instead of filling this area with brick, I decided to repair the concrete instead.
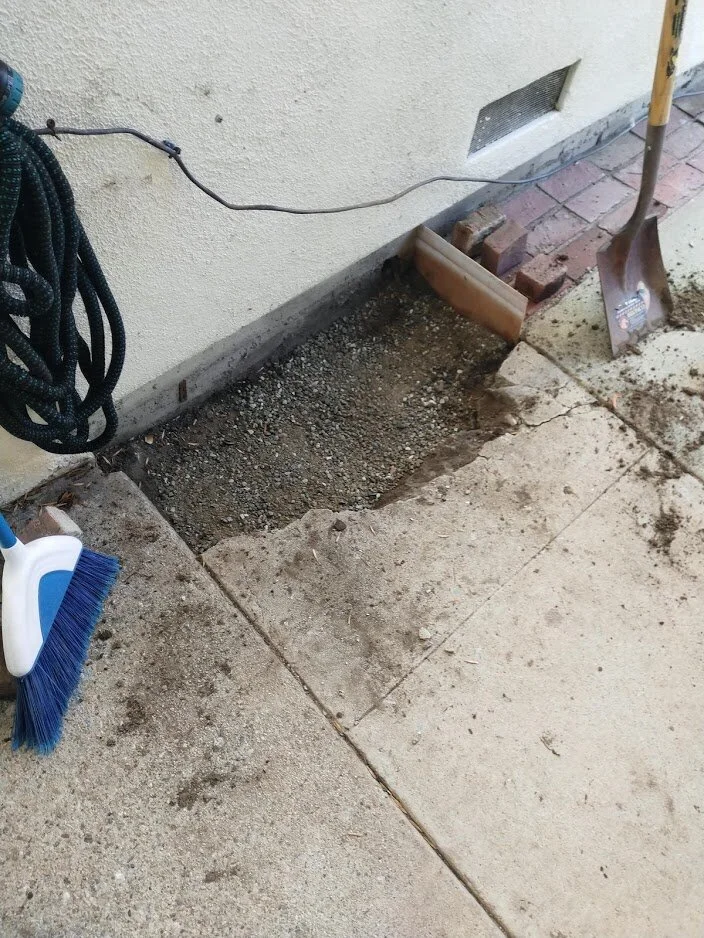
First I removed the loose chucks of broken and cracked concrete. This required a lot of hammer and chiseling.
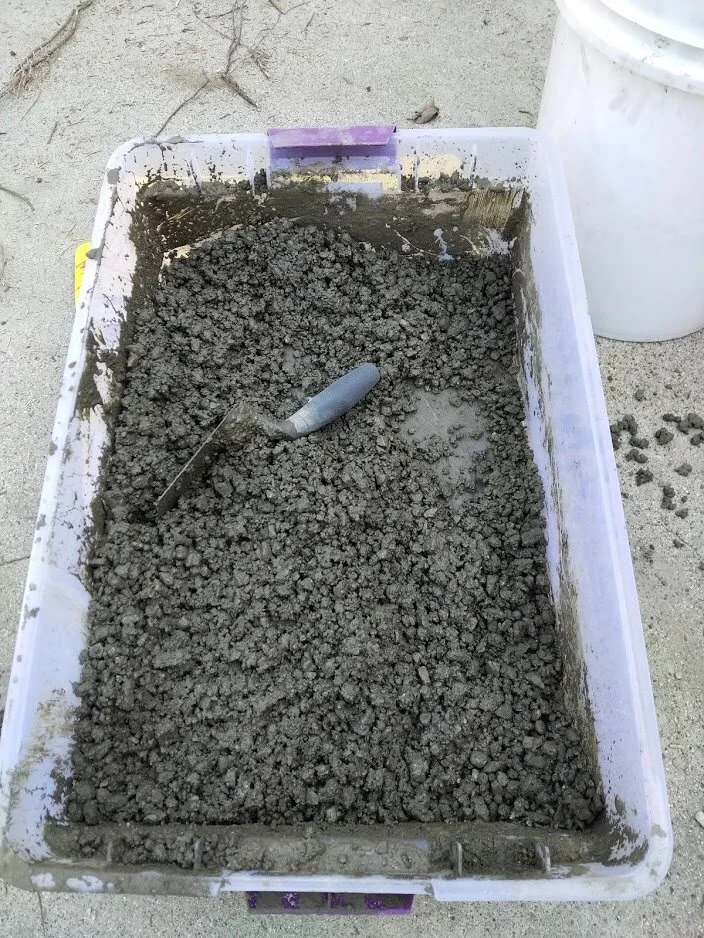
Then I mixed some concrete, which I learned is actually a combination of gravel and cement. Cement is the powder that chemically activates when wet and solidifies everything together. When you add gravel then it’s called concrete. (I didn’t know this)
In retrospect I should have dug the hole a bit deeper. The concrete mix is suppose to settle, the gravel drops to the bottom and the cement to the top creating a smooth surface. Instead I got a mix on the top.

Over the next week I took extra cement and filled the gaps on the surface and misted them with water. The end result isn’t perfect, but like the bricks it got the job done. Ideally it would have been a smooth transition between old and new, but instead it looks like an okay patch job. I may be able to do more in the future with some repair cement, to further sculpt the surface.
Here some other stuff that’s been happening at our house.
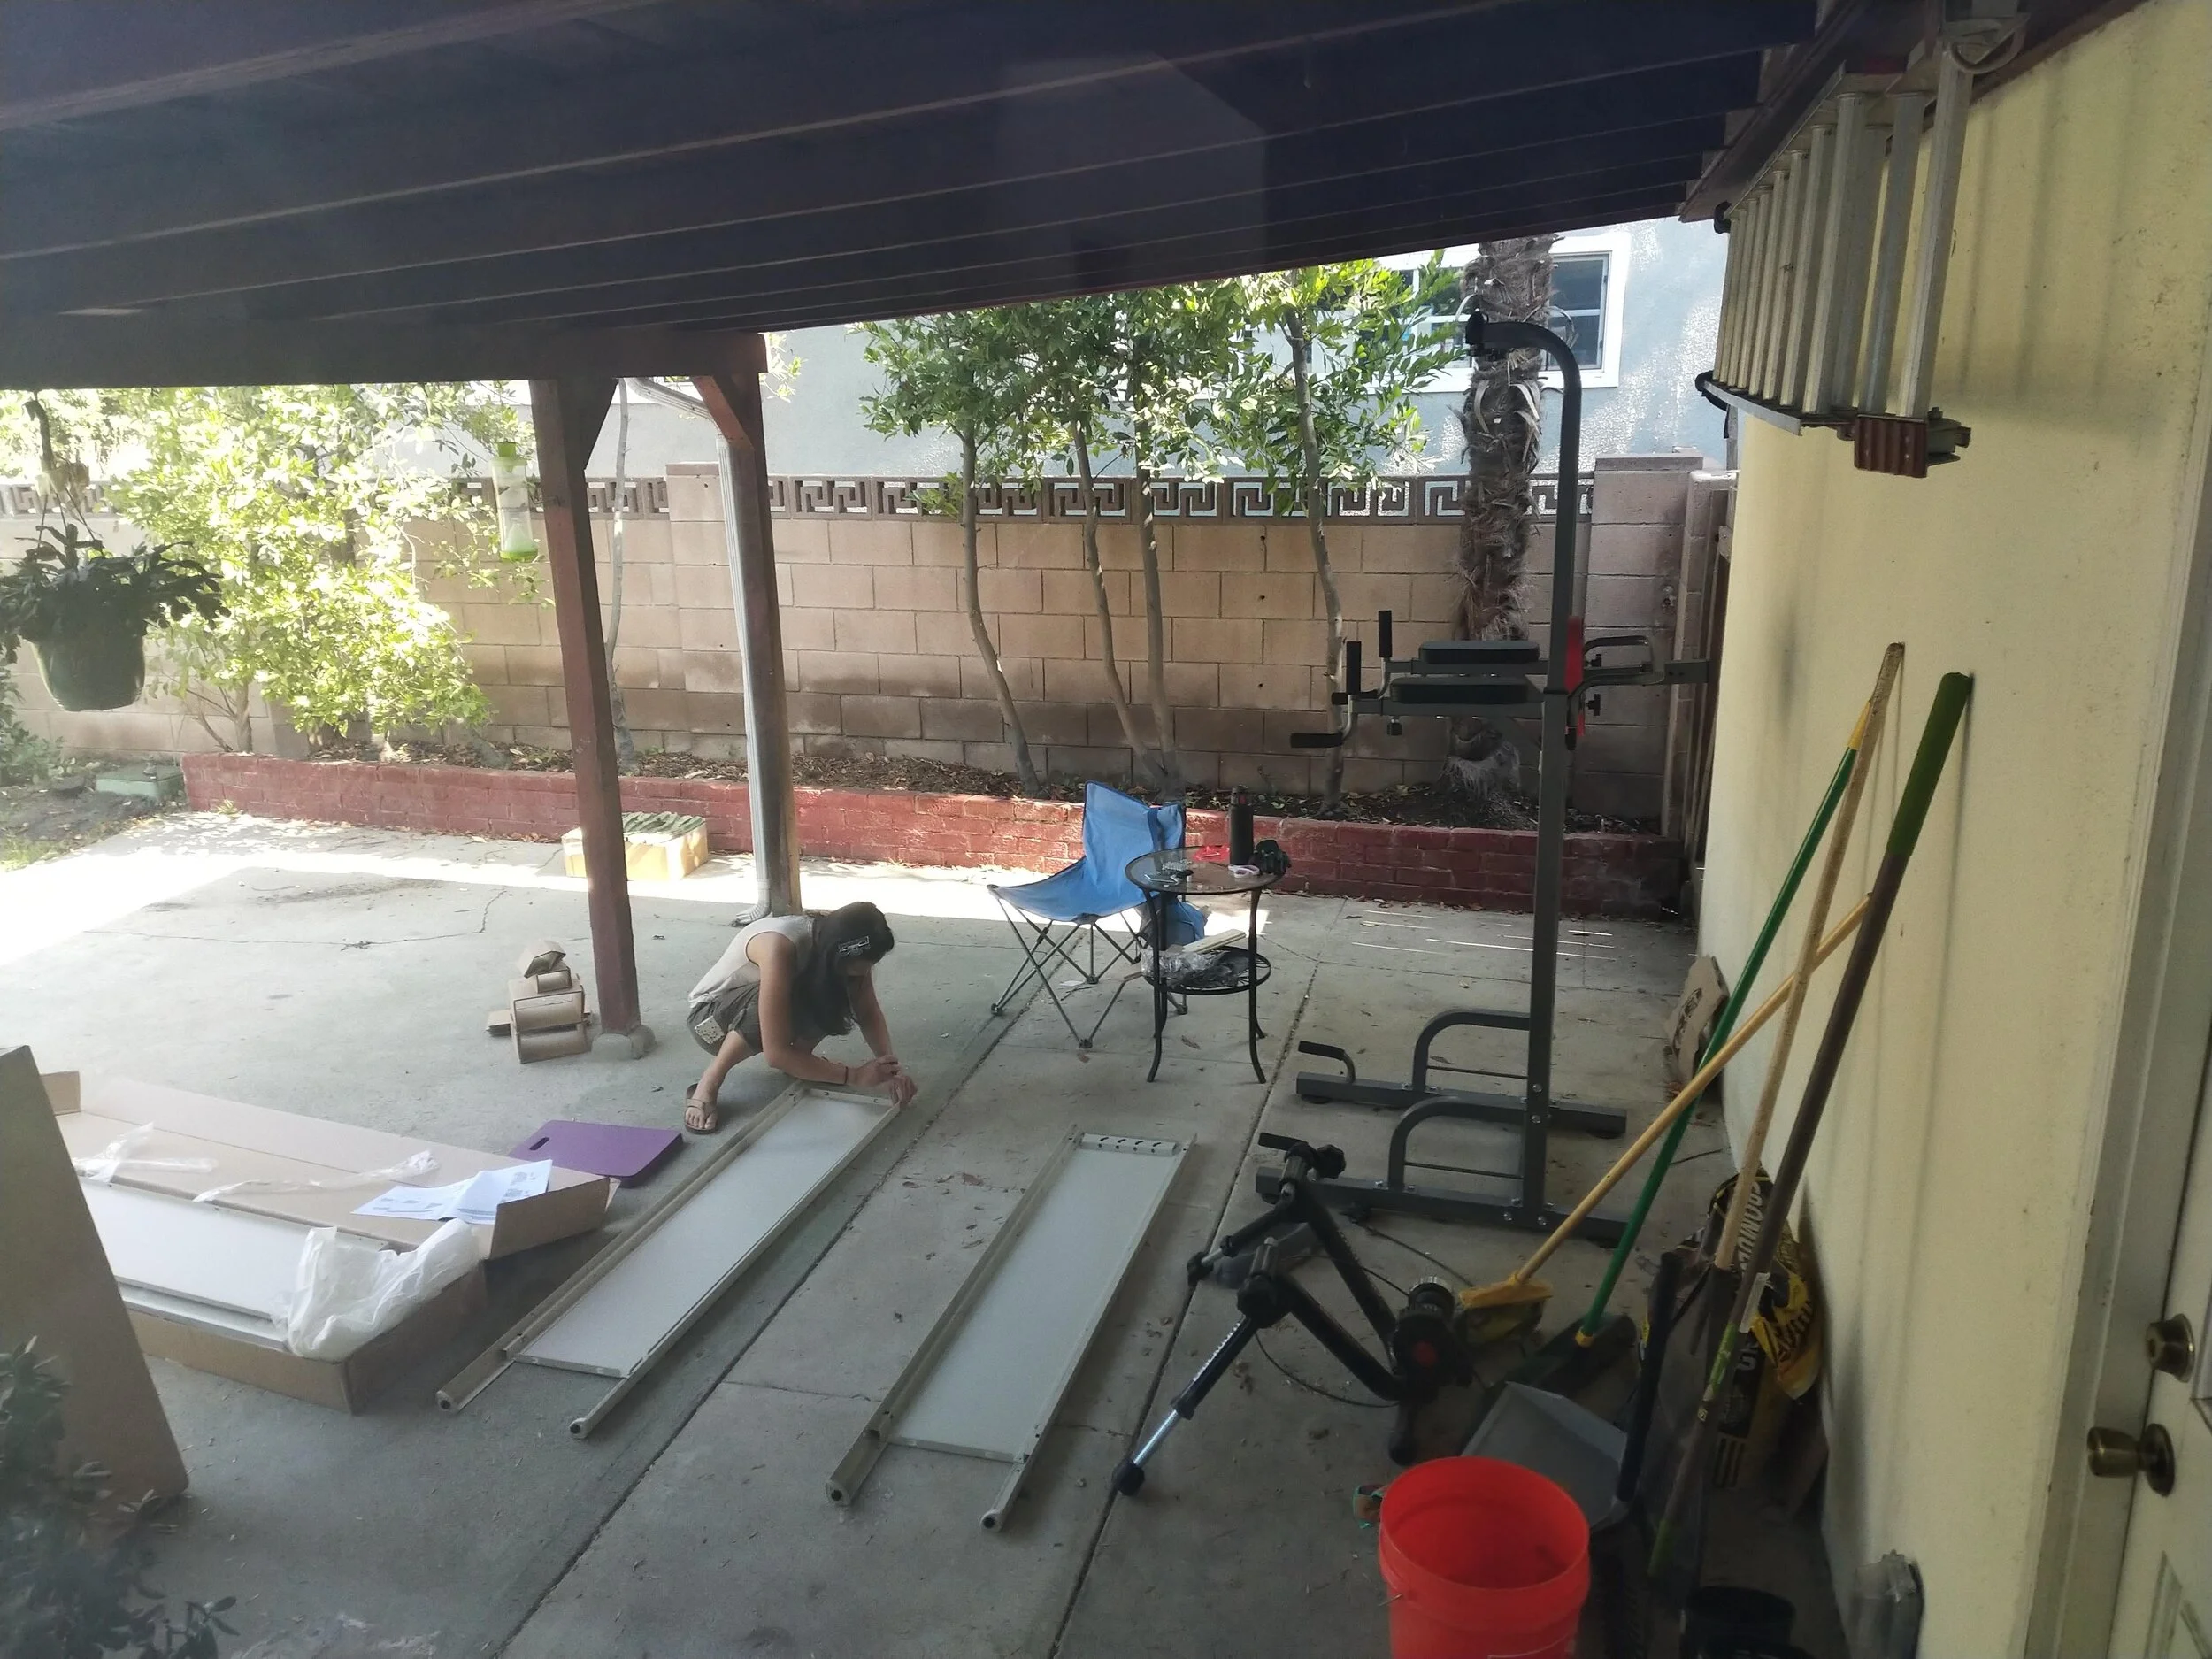
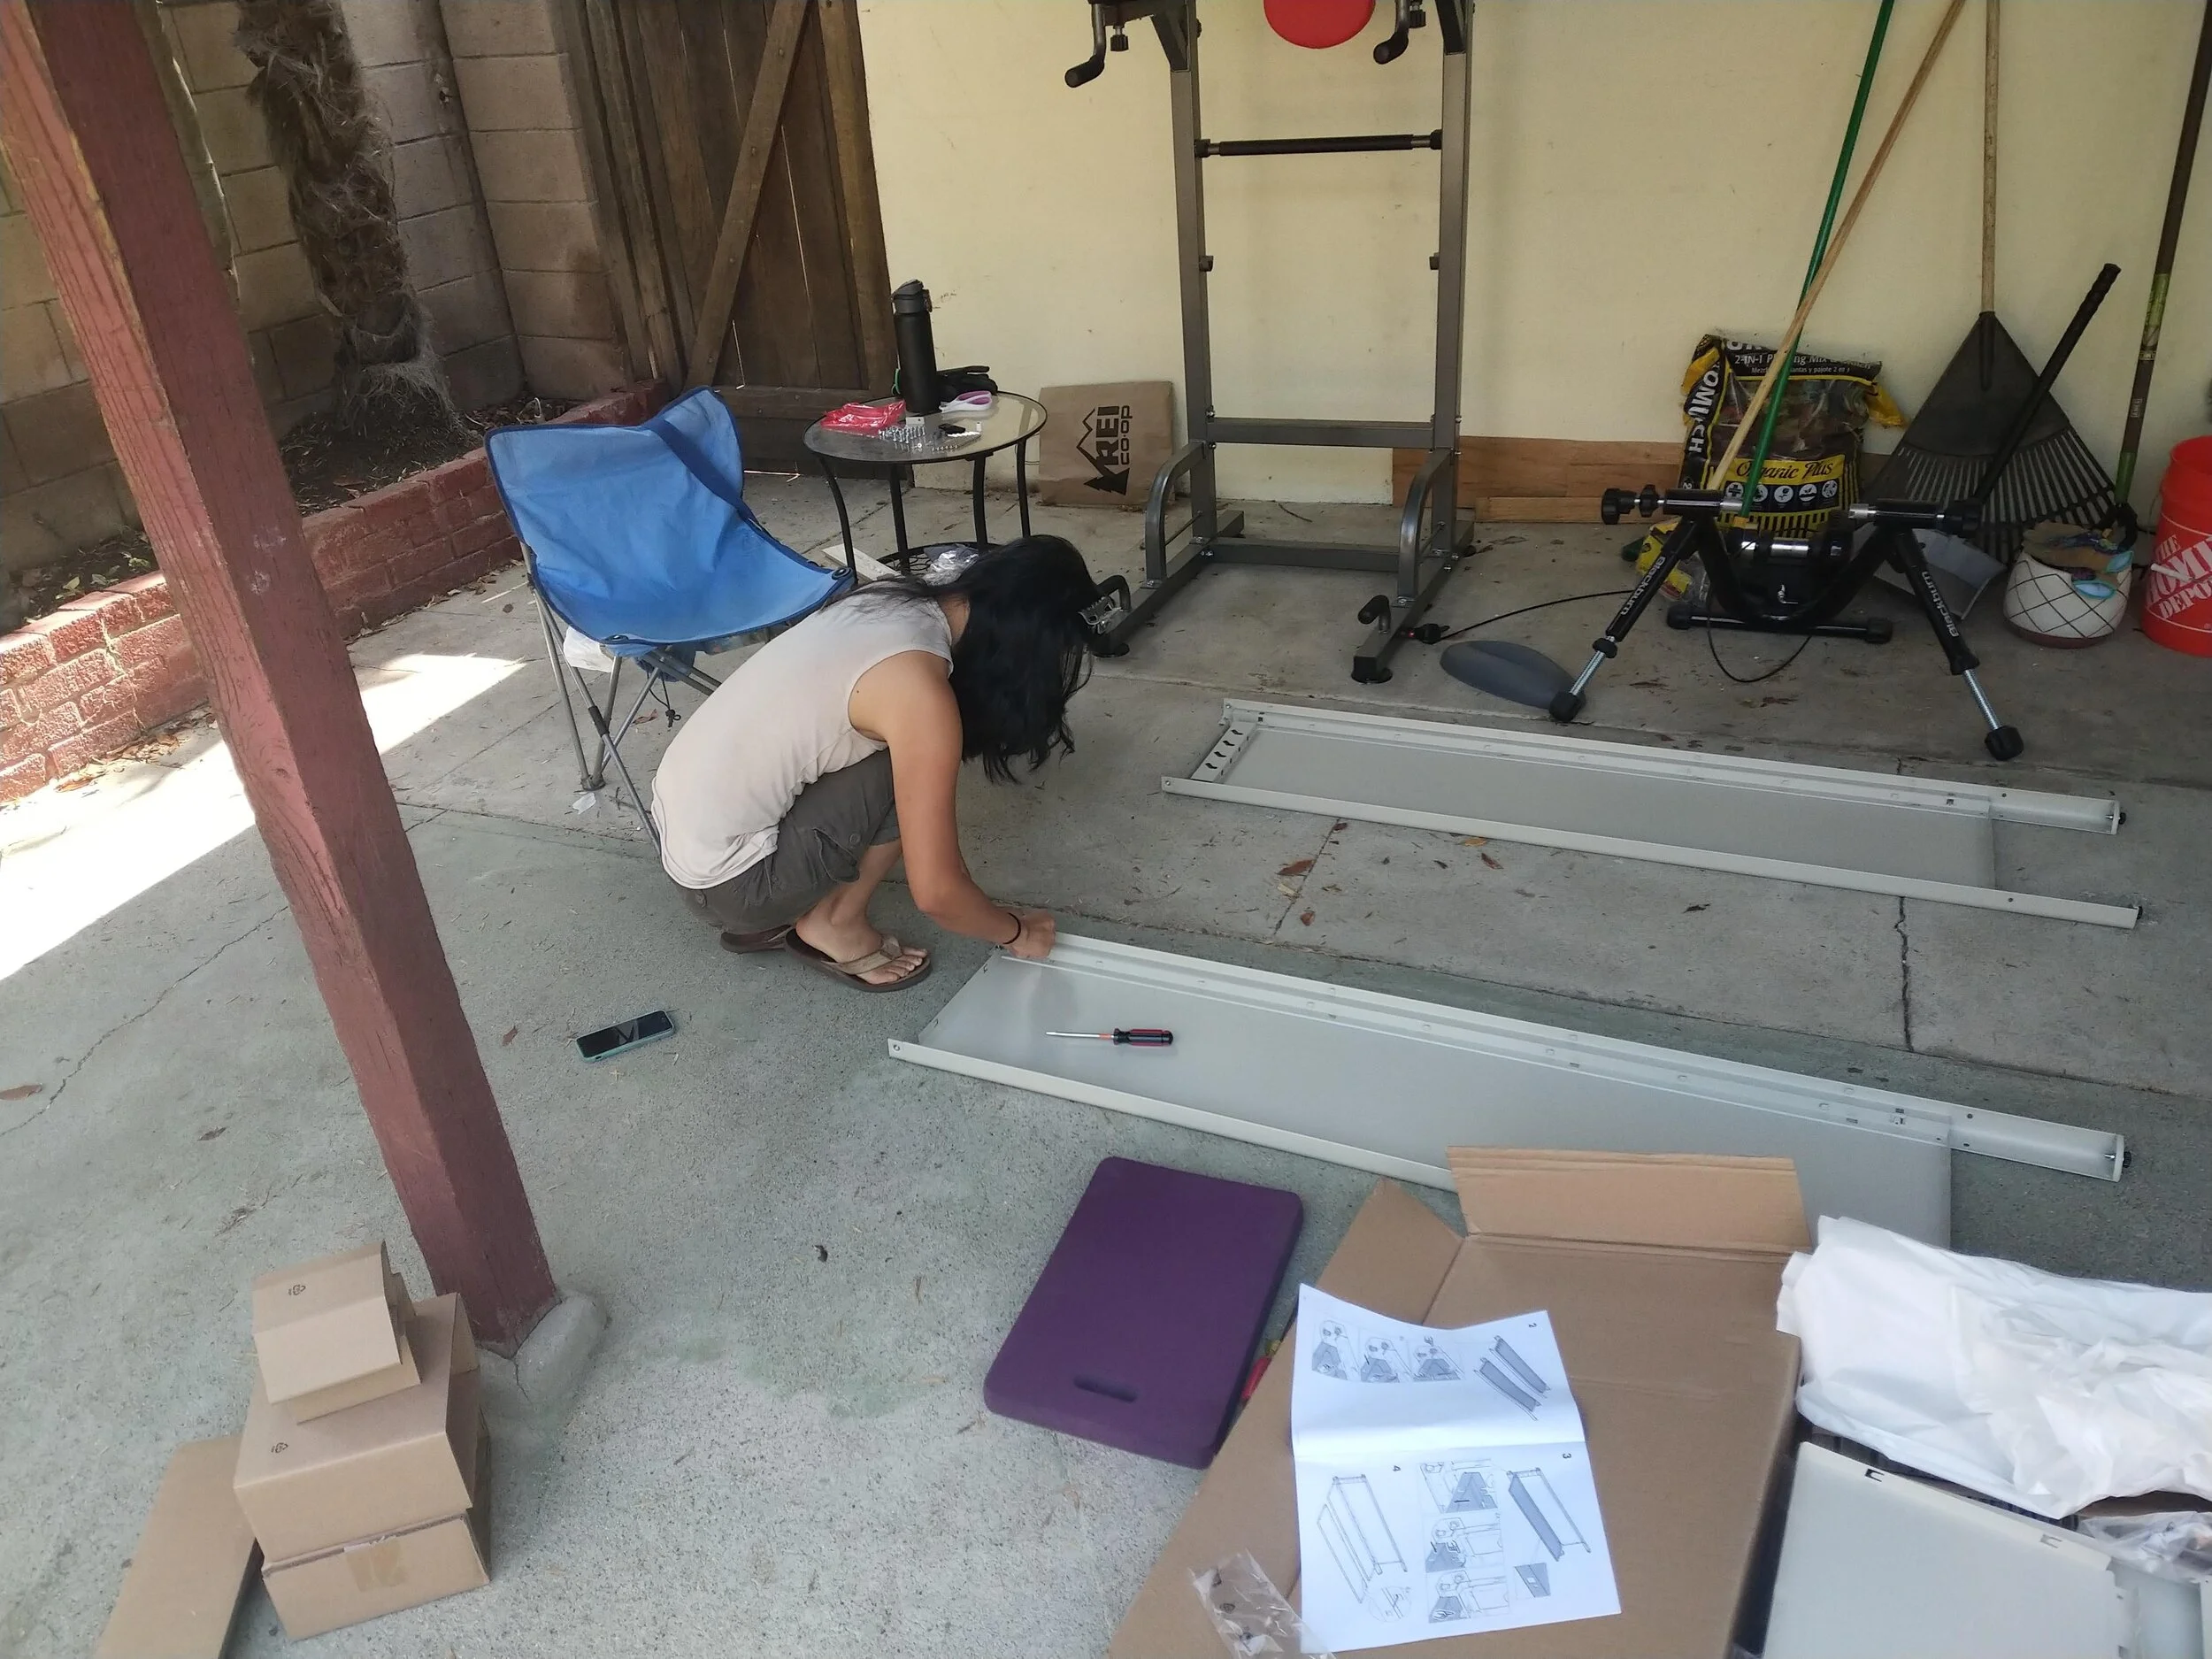
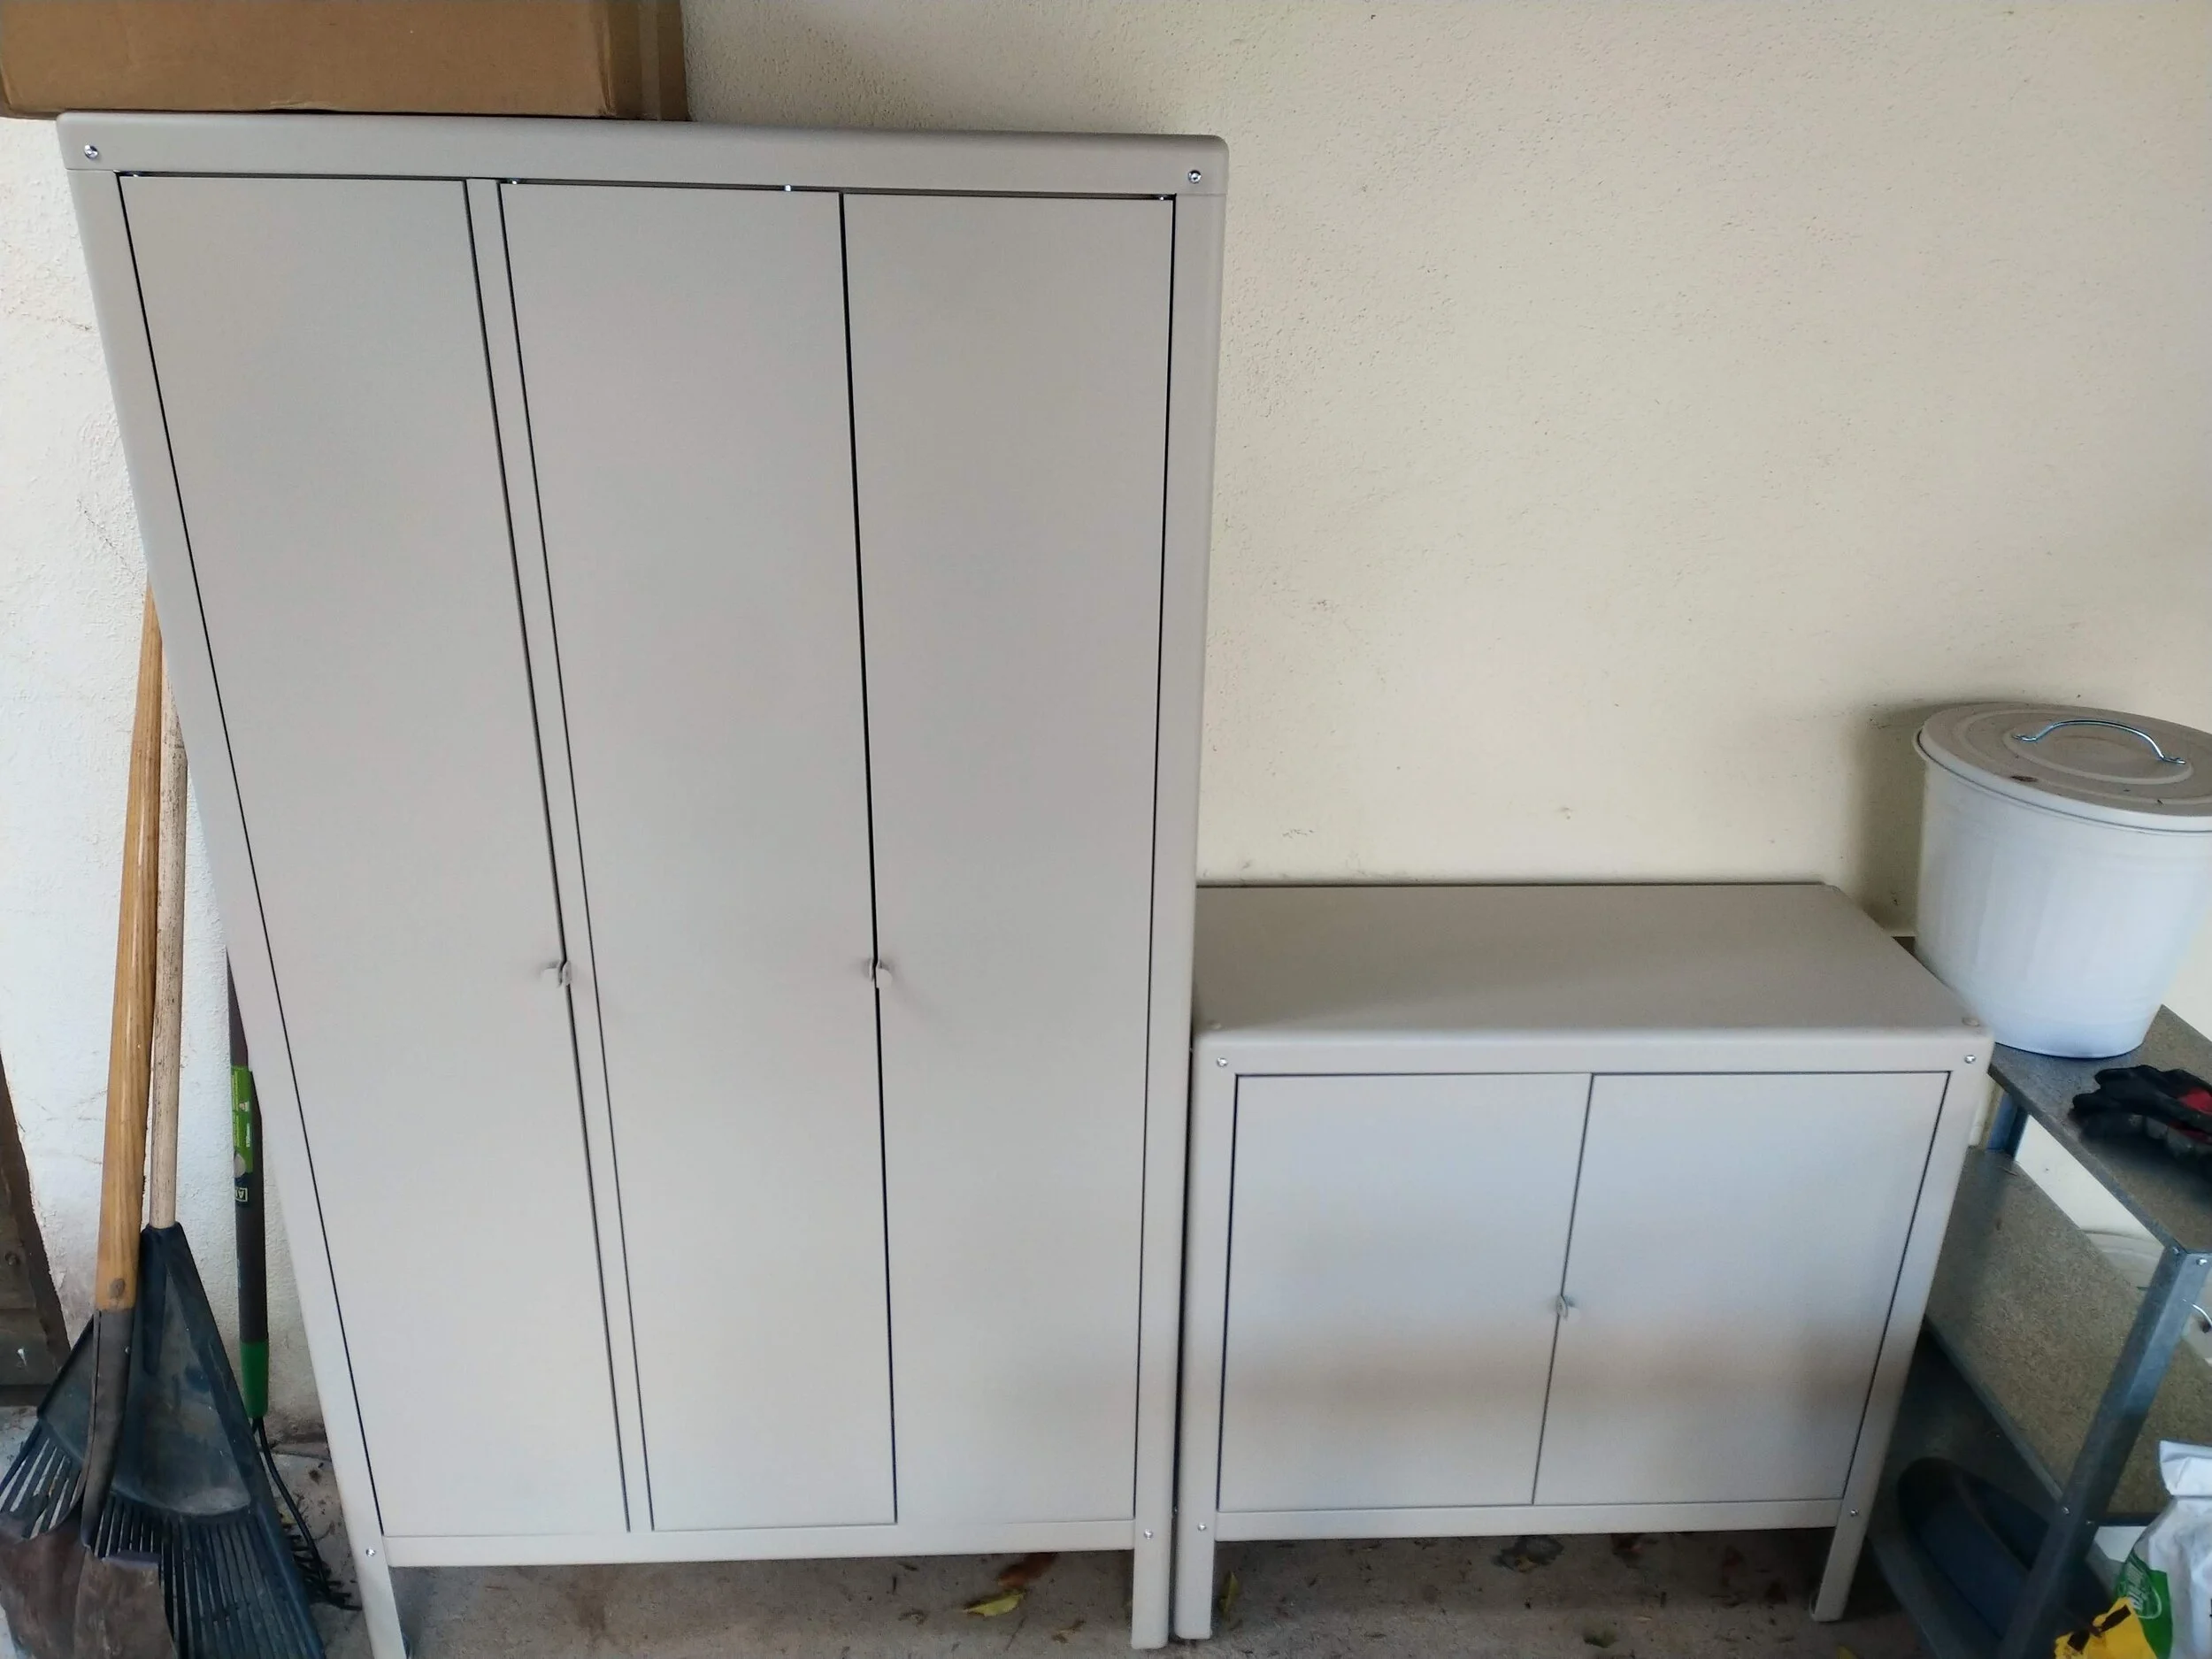
Haidee built these metal cabinets for the backyard patio. She can store gardening supplies, brooms and shovels in them!
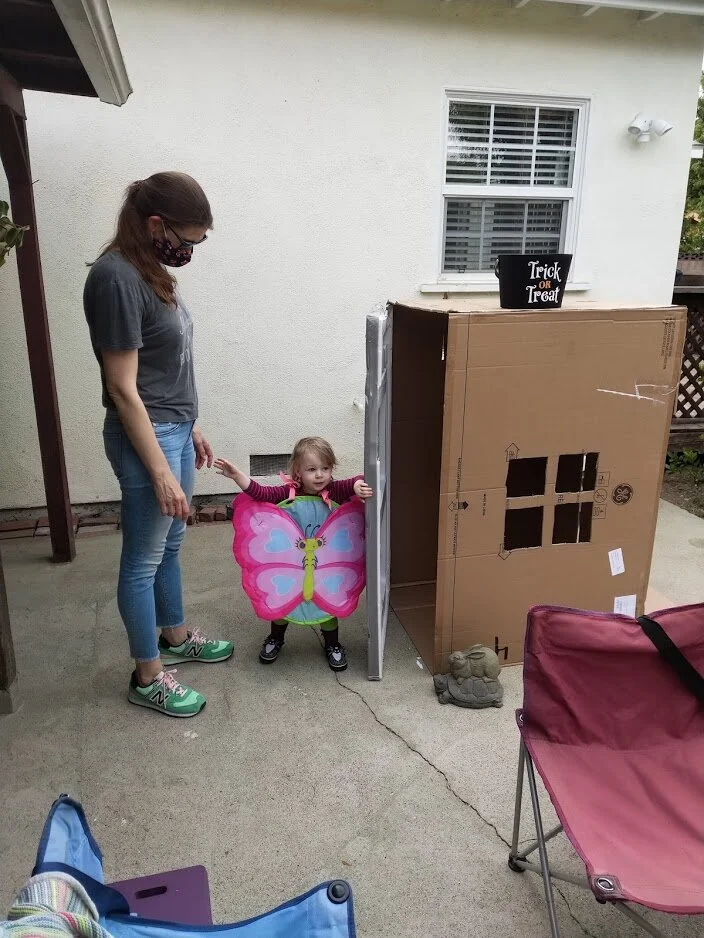
Before Halloween we had Haidee’s friend Charlie over, with her daughter Posie.
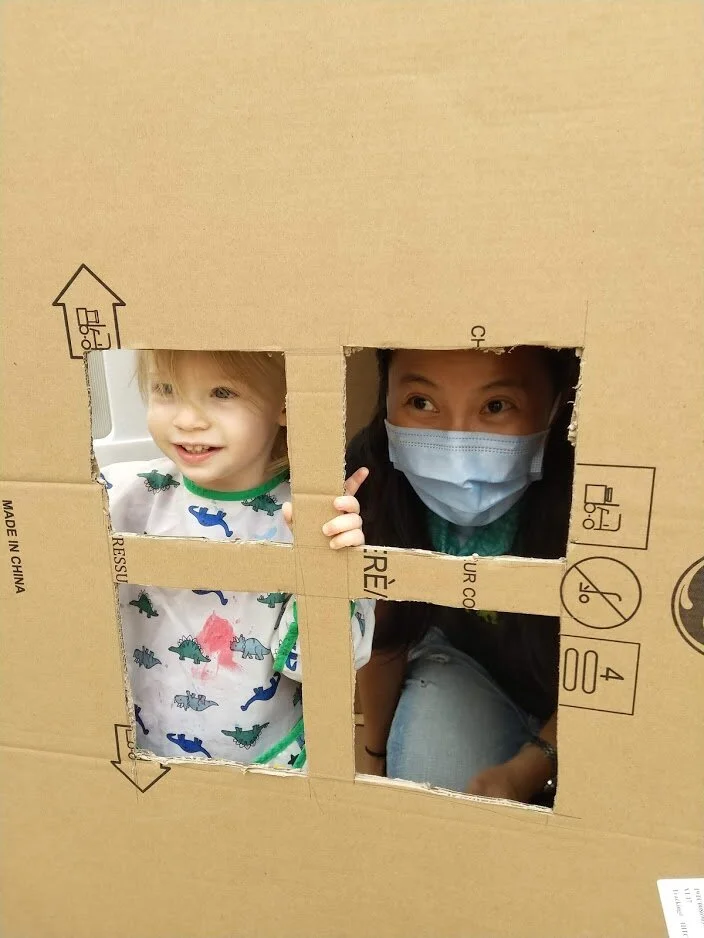
We carved pumpkins, and Posie got to play in a cardboard house I made from a refrigerator box.


Every time she walking into the box she would say “Anybody hooooome?”
This was our Pumpkin. It melted within a few days!

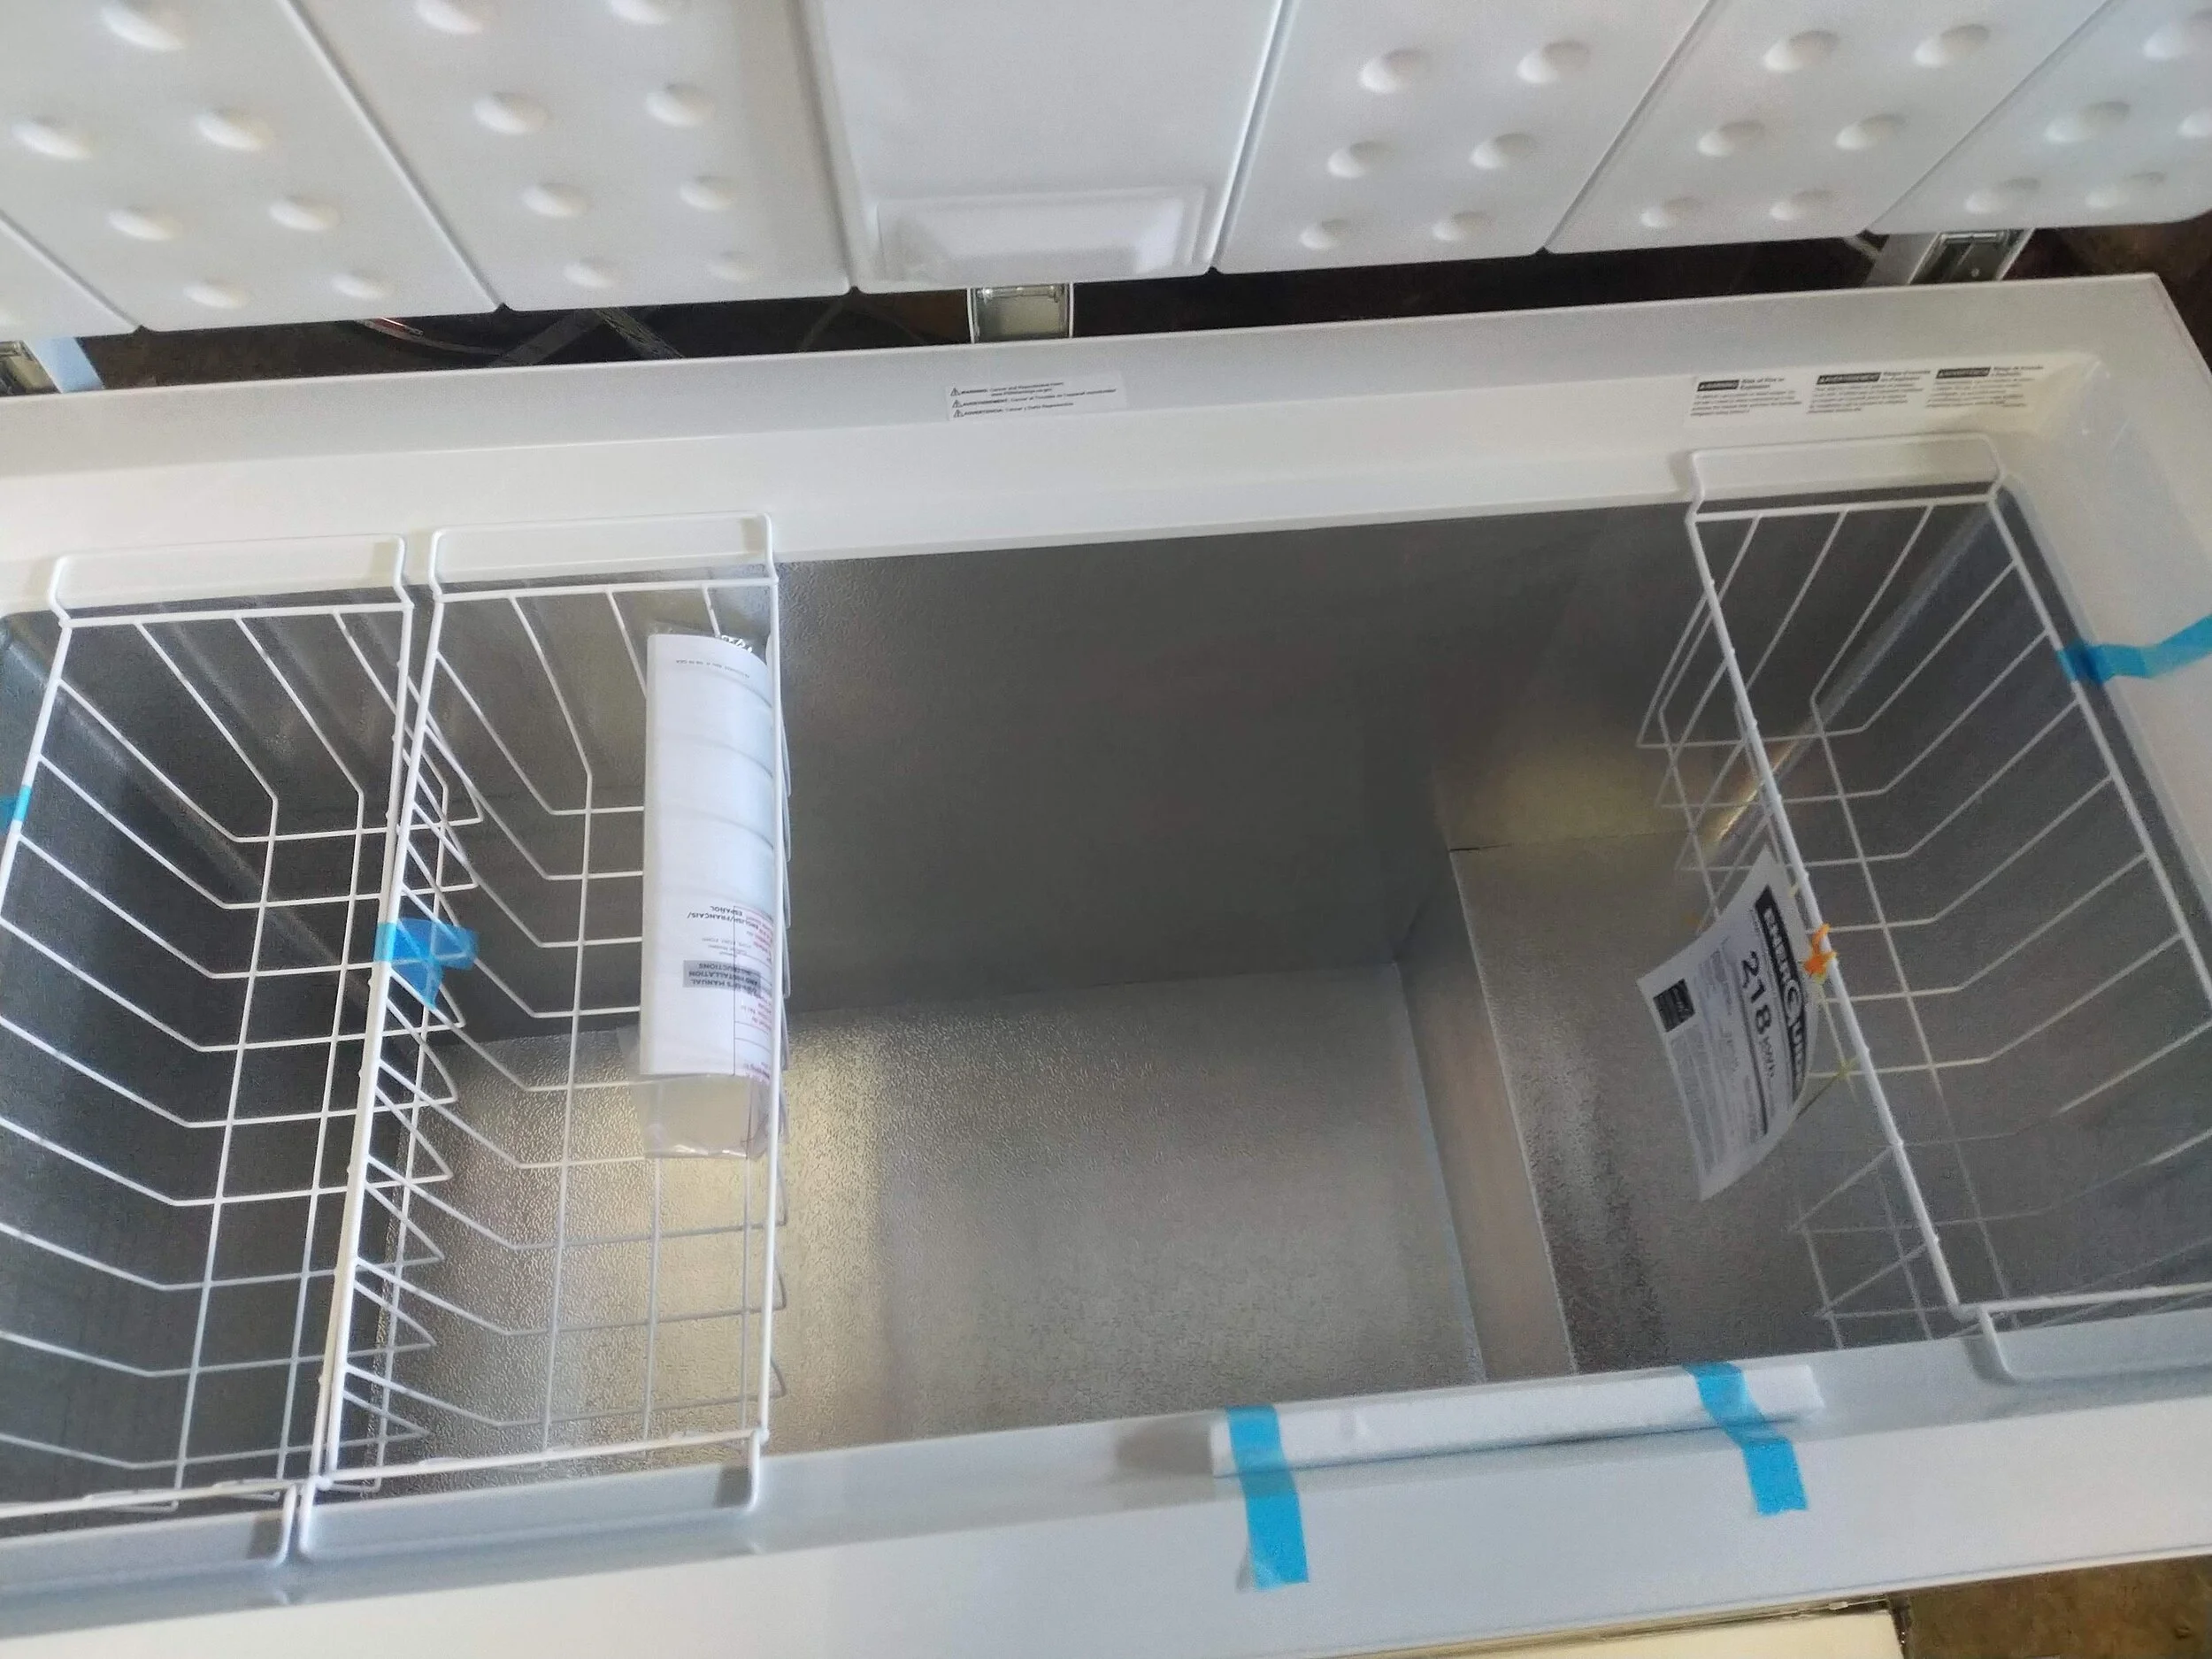
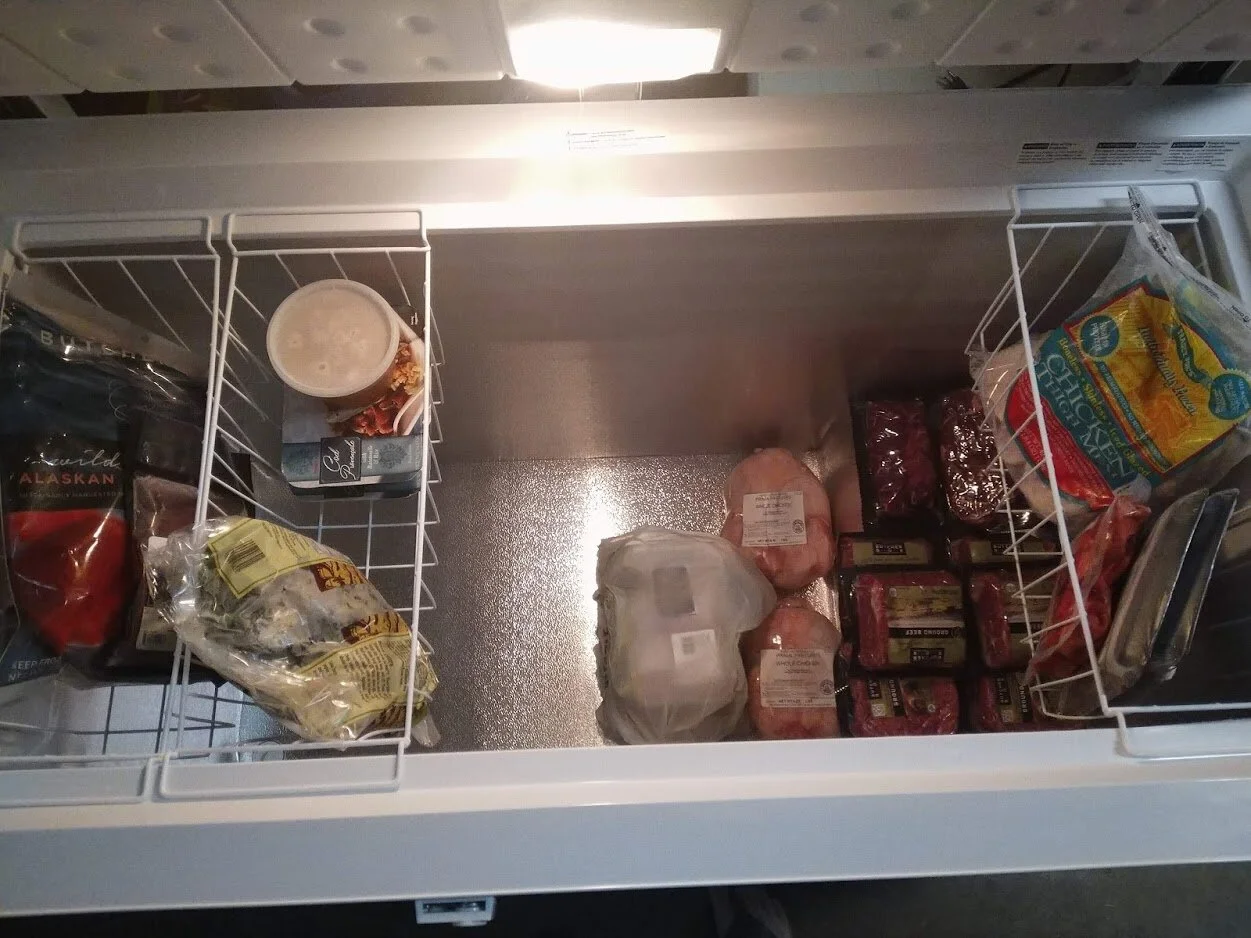
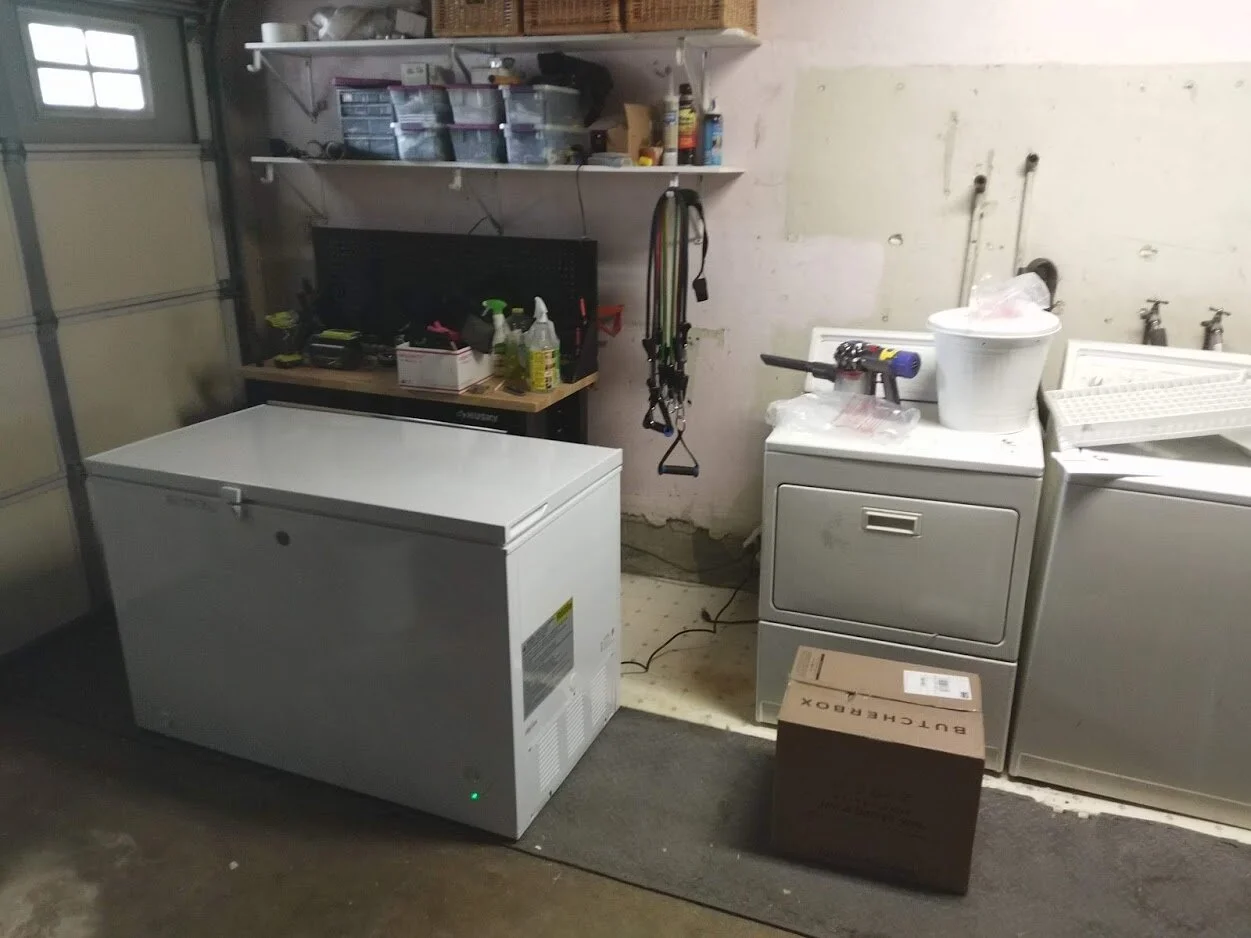
This is the new chest freezer I managed to buy from Home Depot. They haven’t been available for months so when I saw one I grabbed it!
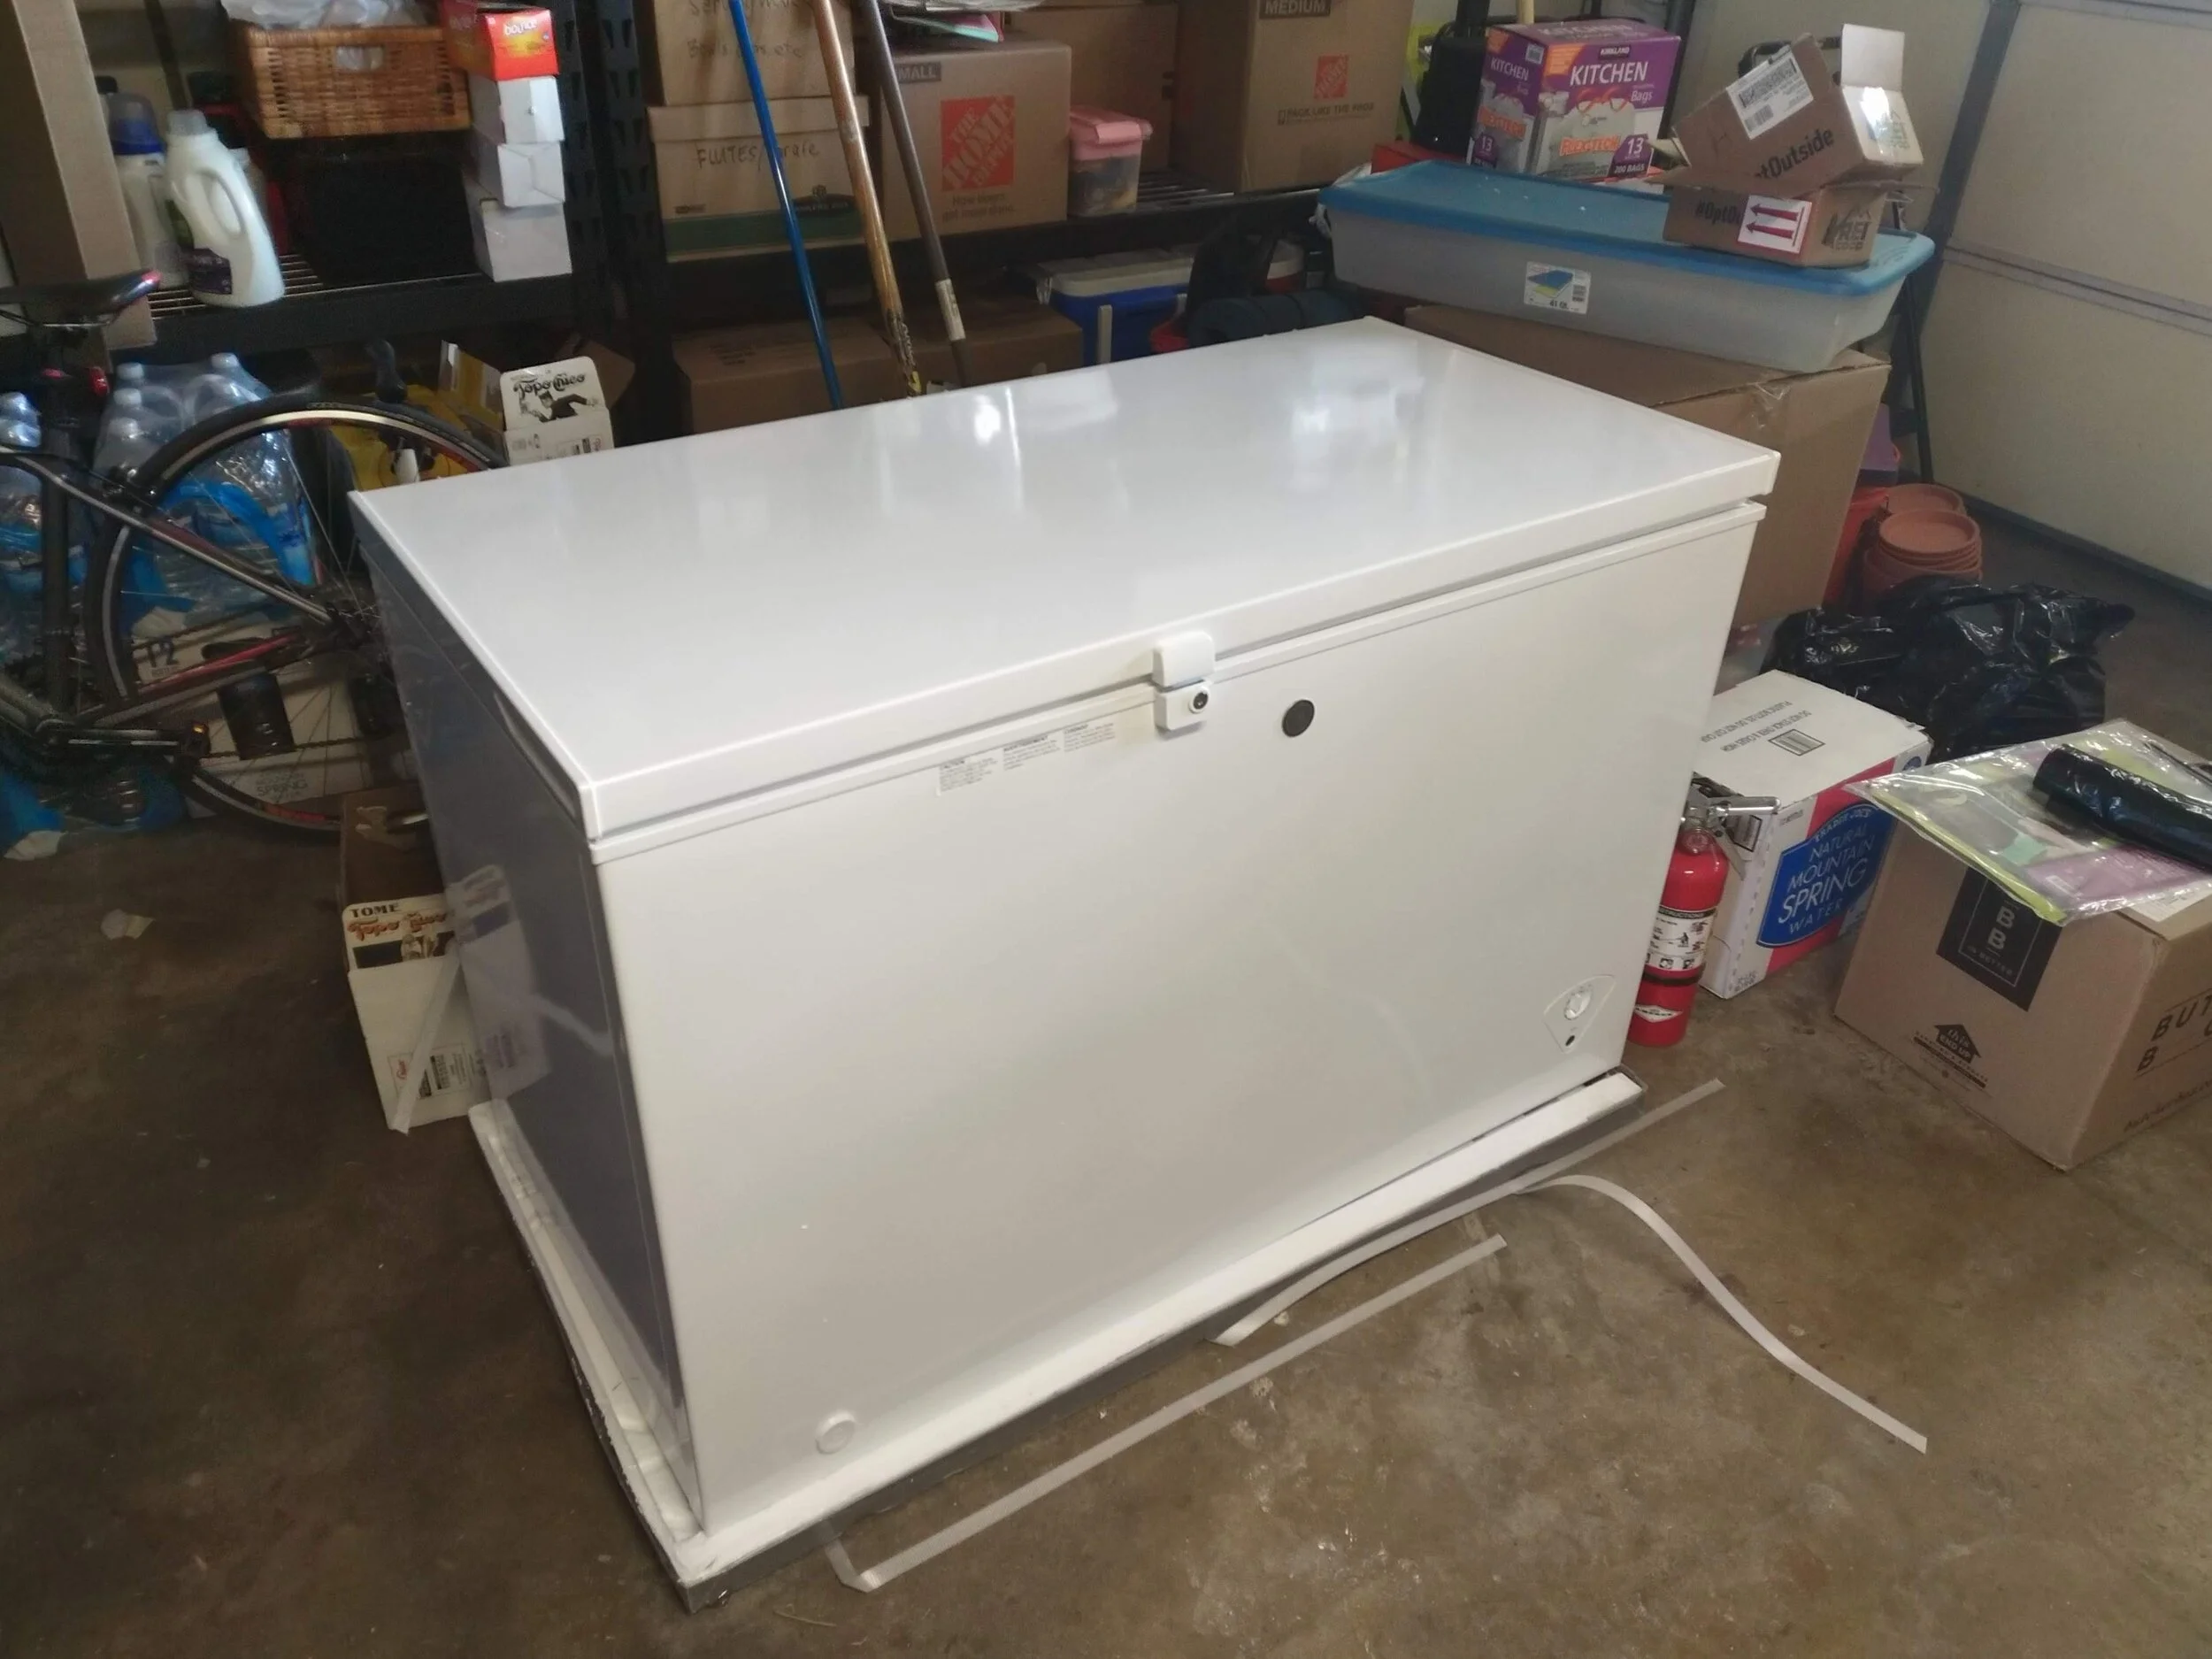
It’s 10 cubic feet. It can hold up to 400 lbs of meat. I ordered half a cow recently, it’s being delivered in multiple boxes, 50 pounds at a time. When it all arrives it should be 200 pounds of meat which should last us over a years. Buying in bulk like this cuts down the grocery bill in the long run. (As long as the power doesn’t go out)
For now the freezer sits in the open. We have a new washer dryer on the way which stack on top of each other. That will make the space needed to push the freezer against the wall.
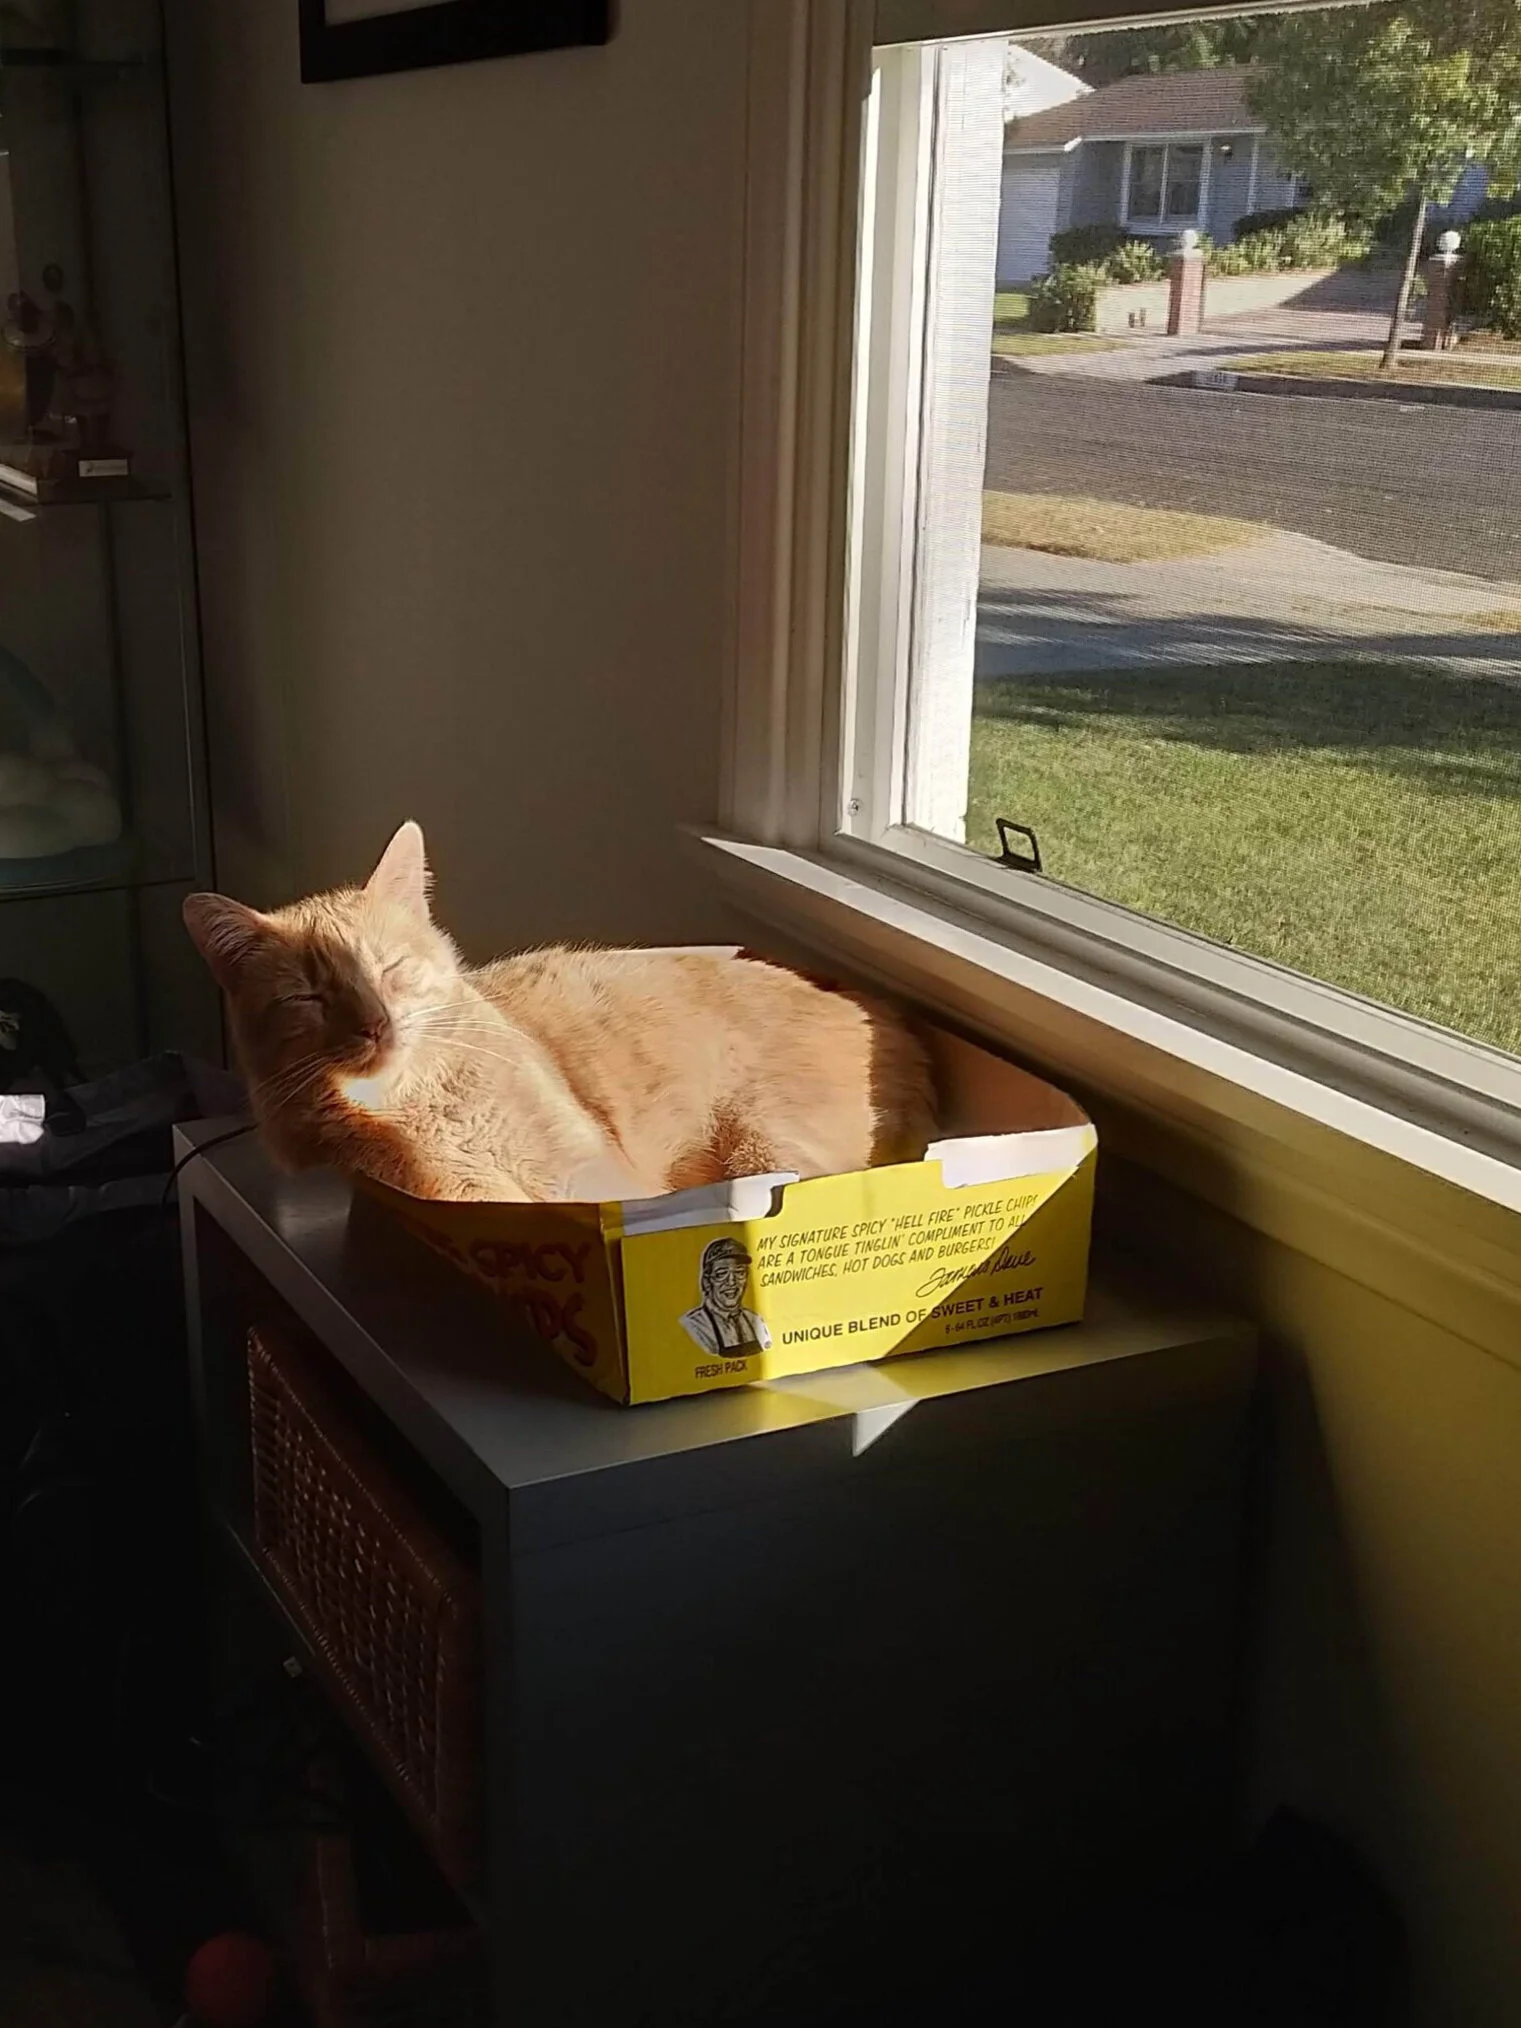
That’s all for now. Here’s a picture of Yams in a sun beam.